The hydrometer is an instrument most homebrewers eventually add to their arsenal of beer making equipment, as it allows you to measure gravity, track fermentation and help determine when a beer is “finished.” But, to the newbie, it can be an intimidating instrument to use, and many seasoned brewers find out they’ve been reading it incorrectly for years.
Let’s take a look at the hydrometer’s purpose and ways to get the most accurate readings from your brews.
What is Specific Gravity?
Before diving into the proper use of the hydrometer, it is important to understand what the instrument is measuring: specific gravity.
Specific gravity is a measurement of the density of a liquid at a specific temperature and pressure. In the case of homebrewing, we are measuring the amount of dissolved sugars in wort or beer compared to water. Pure water has a specific gravity of 1.000, and as sugars are dissolved into solution it will cause the gravity to increase.
Brewers will take a gravity reading before pitching yeast to get what’s referred to as an original gravity reading. For all-grain brewers, having a target original gravity going into the brew day allows you to track how close certain aspects of the recipe match the actual wort. Beers, ciders and meads can have an original gravity up to and potentially over 1.100, with most classic beer styles in the 1.030-1.070 range.
After a beer has visibly finished fermenting and it is assumed all activity is complete, a gravity reading is typically taken. The following day another reading is taken, and if they are the same it can safely be assumed fermentation is complete. Comparing the original and final gravities allows the brewer to measure the attenuation, which can help estimate the beverages alcohol content.
When discussing specific gravity, brewers tend to read 1.030 as “ten-thirty.” Gravity can alse be expressed in other units of measurement like Plato and Balling.
How To Use a Hydrometer
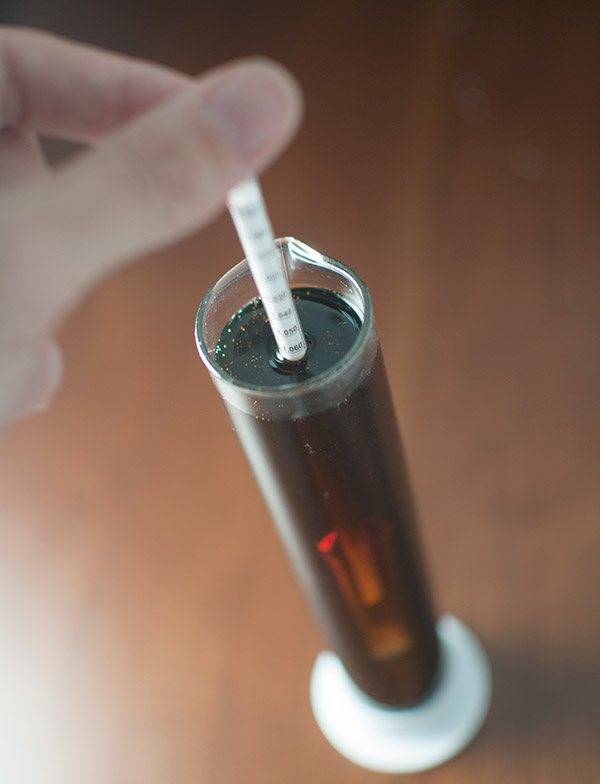
A hydrometer is one instrument used to measure specific gravity (a refractometer and sacchorometer can also be used). In simple terms, a hydrometer floats in liquid and where the surface of the liquid touches the hydrometer’s scale will determine the specific gravity.
Gravity readings are typically taken before pitching the yeast and after visible signs of fermentation have ceased. It is generally not recommended to take more samples than necessary because each time the fermenter is opened to draw out wort, you are introducing the risk for contamination. To pull a sample, use a wine thief, siphon or turkey baster and take extra care with sanitation.
Place the wort sample in a vessel big enough to allow the hydrometer to freely float without hitting the bottom or sides of the container. Some homebrewers buy a test tube, or you can sometimes use your wine thief or the container the hydrometer came in. Once the liquid is in the container, place the hydrometer in the sample and give it a gentle spin. The hydrometer will eventually settle and you can take your reading. Sometimes the hydrometer will stick to the side of your vessel, so make sure it is floating freely before you take the reading.
After you are finished, do not return your sample to the fermenter, as it could cause contamination. Instead, taste the sample to get an idea of what to expect from the final product.
 How to Read a Hydrometer
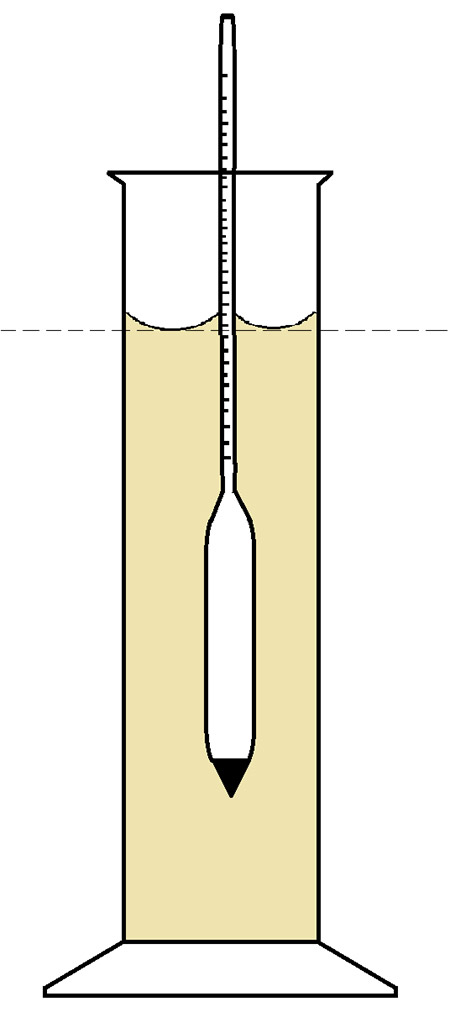
Reading a hydrometer is as simple as noting where the surface of the liquid meets the surface hydrometer—right? It is actually a little bit more involved than that. In fact, if you take your hydrometer reading from where the liquid appears to stop, you may be taking your readings too high.
Instead, you want to take the reading from the bottom of what’s called the meniscus. A meniscus is a curvature in liquid, and usually happens in vessels like test tubes.
Carefully look where the bottom point of meniscus is and take a reading from that level. You will notice it may be a few ticks lower than if you read it from the top of most point of the liquid. See the image to the right for a visual explanation.
Hydrometer Correction and Calibration
It is very important to note that hydrometers are calibrated to be used in a liquid of a certain temperature. Older hydrometers were typically calibrated to 59-60°F, and newer ones can go up to 70°F. The calibration of your hydrometer will be in its instructions.
You want to temperature of the liquid to be at this exact calibration temperature to get an accurate gravity reading. If you can’t, you can use an equation or chart to correct for the temperature of your sample. Detailed information on temperature correction, including the equation and charts, can be found in this Zymurgy article “Brew By the Numbers—Add Up What’s In Your Beer.”
You may also want to verify the calibration of your hydrometer, as it is not uncommon for them to be off. To do this, take a sample of distilled water at the temperature of the hydrometer’s calibration. If the hydrometer reading is 1.000, your instrument is correctly calibrated. If it is too high, you can use a file to shave off some of the glass from the bottom of the hydrometer until it hits 1.000. You may want to seal the shaved part with nail polish. If it is too low, add nail polish or tape to the top of the hydrometer until it reads 1.000.
Sources: How to Brew by John Palmer; “Homebrewing Tricks of the Trade” by Ted Hausotter (September/October 2007 Zymurgy)
Share Post