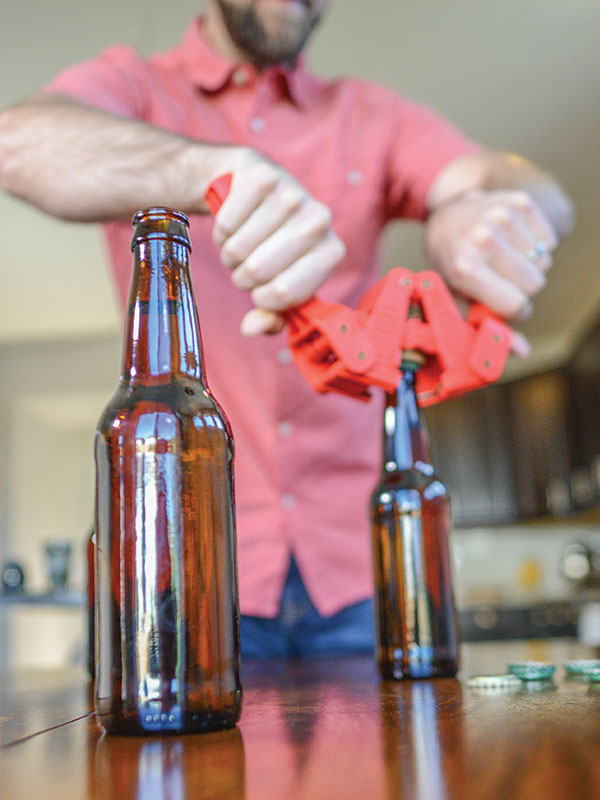
Bottling catches a lot of flack, especially from the die-hard keggers out there. Sure, preparing and filling a few cases of bottles is more labor-intensive than racking to a single keg, but packaging homebrew in bottles also has its benefits.
For one thing, grabbing a 6-pack of bottles to share or give to friends is quite a bit more convenient than shlepping a keg, CO2 tank and tap gear. Bottles are also perfect for long-term aging without taking up too much space in the cellar. And sometimes, there’s just nothing like popping a bottle of your own homebrew and hearing that “pffft” sound before pouring a beer into a glass.
To successfully bottle condition beer, it is important to take into account four key components: yeast, sugar, temperature and time.
Yeast
First and foremost, is yeast. Without enough viable yeast, there is nothing to convert sugar into CO2, which is what creates carbonation. If a beer undergoes a standard, healthy fermentation then there should be no issue with having enough yeast ready to do just a little bit more work to bottle condition beer.
Issues can arise, however. Extended fermentation periods, as well as highly flocculent yeast strains paired with lengthy secondary aging can cause yeast to go dormant. Filtering beer can also prevent enough viable yeast from making it into the bottling bucket. In these instances, more yeast can be pitched, which is actually sometimes standard procedure in many commercial breweries that bottle condition filtered beer.
The moral of the story—make sure the yeast is happy, healthy and up to the task of bottle conditioning your homebrew.
Sugar
The next vital key to the bottle conditioning puzzle is sugar. Without enough fermentable sugar, yeast will have nothing to transform into CO2 and carbonate beer. There are a few options for ensuring sugar levels are where they need to be to achieve the desired level of carbonation without fear of creating the dreaded “bottle bombs” (bottles that explode to due being over pressurized).
The daring homebrewer may determine when there’s just enough fermentable sugar left during fermentation and bottle at this point, but this can be quite risky if you’re not very familiar with the recipe and ingredients. The more common route is to wait for primary fermentation to complete fully, pick an easily fermentable sugar and add it to the bottling bucket. Rack the beer atop the sugar, mix it in thoroughly (without splashing!) and fill the bottles.
Corn sugar is the go-to priming sugar for many homebrewers because it is a simple sugar that is easily converted by yeast in a short time span. But brewers use everything from malt extract to honey to bottle condition beer. It is important to point out that different sugars have varying degrees of fermentability and will take different amount of times to achieve conditioning.
But wait! One of the most important parts of priming sugar is determining how much you need to achieve a specific level of carbonation, measured in volumes of CO2. The general rule of thumb used by beginners is 3/4 cup (177g) of corn sugar per 5 gallon batch to reach 2.25-2.5 vol. CO2. But, if you are after something with a higher or lower level of fizz, then you need to make some measurements.
Use the nomograph below to determine the amount of sugar you need to reach a specific level of carbonation. This is intended for a 5 gallon batch, but the amount of sugar determined for 5 gallons can be scaled to any volume. To use the nomograph, mark the temperature at which the beer will be bottled, the volumes of CO2 you’re after and then connect the lines with a straight-edge. Where the lines intersect the meter all the way to the right will determine how much corn or cane sugar is needed to reach that level of carbonation. Simple! Brewing software and online calculators can also be used to determine priming sugar amounts.

Click image to enlarge. Graph From How To Brew by John Palmer.
Temperature
As with primary fermentation, temperature plays a big role in how efficiently yeast will do its job converting sugars into alcohol and CO2. At the very least, filled and capped bottles should be stored at the temperature it was held during primary fermentation. A little warmer can be even better. 68-80°F is the general range for bottle conditioning.
If you notice your bottles are having a hard time fermenting, but you’re confident with the yeast and priming sugar levels, it could very well be the temperature. Try sticking the bottles in a slightly warmer place and keep them off cold cellar floors that may be deceptively colder than the ambient temperature.
Time
Last but not least is time. Bottle conditioning typically takes 2-4 weeks to complete when using corn sugar. If you pop a bottle at two weeks, you’ll likely still hear the “pffft” of carbonation, assuming everything went to plan, but aging time up to a month is beneficial to ensure all the priming sugar has been consumed and the carbonation level has reached its fullest potential.
It’s important to remember that different priming sugars will take various lengths. Honey, for example, typically takes a bit longer than corn sugar. After two weeks, open a bottle every week or so and track the carbonation. Once you enjoy what you taste, it’s time to enjoy the fruits of your labor!
Sources: “Putting the Bubble in Your Beer” by Ray Daniels (September/October 2001 Zymurgy); “For Easier Bottling” by Chuck Skypeck (September/October 2001 Zymurgy); How to Brew by John J. Palmer
Share Post