Collecting and reusing yeast from a fermented batch of beer is common practice among home and professional brewers. In fact, records show it has been done since the 12th century, with some saying it likely occurred thousands of years before that. For the modern homebrewer, harvesting and repitching is a way to save money—as you won’t have to purchase first generation yeast strains—and there’s the added benefit of pitching lots of viable yeast cells ready to work in your next homebrew batch.
With proper technique and sanitation (check out Yeast: The Practical Guide to Beer Fermentation for information on how to properly harvest and reuse yeast), ale yeast can be reused anywhere from five to 10 generations from the initial culture, with a smaller range for lagers (three to four generations). Based on yeast performance, it is said that third generation yeast is often the most ideal for fermenting beer. But why?
The Benefits of Repitching Yeast
When purchasing new yeast from the homebrew shop, the cells in the package have never been in a sugary-wort environment, so there is a lag and growth phase where the yeast needs to adjust before getting to work on converting fermentable sugars into alcohol and CO2. Because of this, it can take a first generation yeast strain anywhere from one to three days longer to finish fermentation then a healthy re-pitch of yeast.
Reused yeast generally includes a much higher viable cell count, does not need an extended lag phase and has undergone the process of natural selection where only the most efficient and healthy yeast cells prevail.
Before yeast is repitched, brewers will often conduct a “rinsing” and/or “washing” procedure. Like cleaning and sanitizing, which may sound like one in the same, rinsing and washing are two totally different techniques that serve two different purposes. However, both are pursued with the goal of having the healthiest repitch of yeast.
So what’s the difference between yeast rinsing and yeast washing?
Yeast Rinsing
Simply put, yeast rinsing is a procedure to ensure only the healthiest yeast are pitched in your next batch of homebrew, while leaving behind unwanted materials.
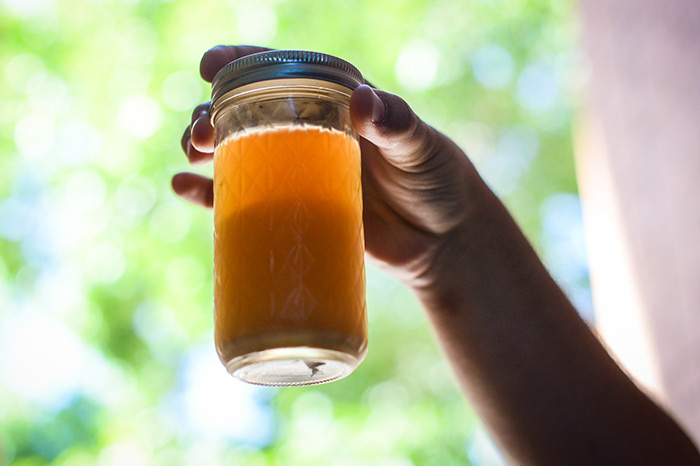
By following the steps below, the rinse will dilute the harvested yeast slurry and help separate out trub, hop particles and dead yeast from the desired yeast cells. It can also aid in removing alcohol when reusing yeast from a high-gravity batch—yeast does not store well in high alcohol environments—though it is not generally recommended to repitch yeasts from “big” beers. The process can be repeated multiple times if excessive amounts of unwanted solids remain, but don’t overdo it!
- Pour your harvested yeast into a sanitized container large enough for the slurry plus four times as much sterile water.
- Add the cool sterile water, leaving about 10 percent headspace.
- Seal the container tightly and shake vigorously for a few minutes.
- Set the container down and let the yeast and trub settle.
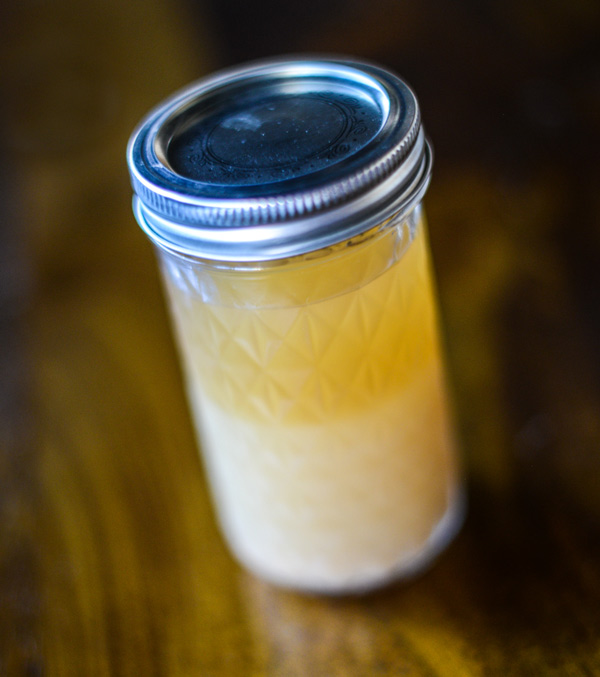
- After 10 minutes, you should notice some stratification occurring.
- Discard the top layer, which is mostly water.
- Decant the middle layer of healthy yeast cells into another sanitized container.
- Discard the bottom layer.
- Store for use in your next homebrew.
Yeast Washing
Where yeast rinsing is a procedure to remove unwanted solids from being pitched along with the viable yeast cells, yeast washing is a preventive measure to reduce risk of contamination from the repitch.
When washing yeast, chemicals are used to reduce the amount of active bacteria in your slurry, while not damaging too many viable yeast cells. The effects of yeast washing will vary from one yeast strain to the next, and using chemicals will absolutely reduce the yeast cell count and viability to some extent.
Washing should not be used with the intent of removing bacteria—especially wild yeasts, mold and lactic acid bacteria, which are highly resistant to washing procedures—but instead as a preventive measure against small amounts of bacteria.
- Cool yeast to 36-40°F (2-4°C). This temperature must be maintained throughout the process.
- Determine how much yeast is needed to ferment your homebrew recipe, and place it in a suitable, sanitized container.
- Once you are two hours from pitching the yeast, start the the acid washing process.
- Thoroughly mix in food-grade phosphoric acid until the pH of the slurry is between 2.0-2.5 pH.
- Hold the yeast at this pH and temperature for 60-90 minutes, while stirring continuously.
- Pitch entire mixture into the the fermenter with wort.
Source: Yeast: The Practical Guide to Beer Fermentation by Chris White and Jamil Zainasheff
Share Post