In case you haven’t been paying attention, lager is back. Homebrewers and commercial craft brewers who had initially focused on ale have rediscovered the joys of cold fermentation and the diverse array of lager beer styles. Lager is not synonymous with mass-produced yellow fizz water (though that is one of many lager styles), and many who initially stayed away from these fun styles are starting to rediscover their allure.
Brewing a great lager does require that the brewer pay a little extra attention to technique, but it needn’t be terribly complicated. Here are 5 tips that will improve your homebrewed lager, whether you’re a seasoned veteran or a first-timer.
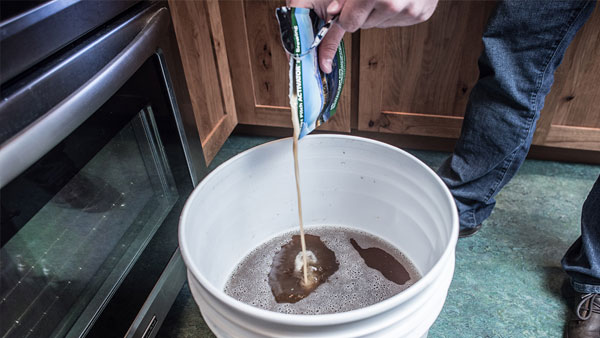
1) Pitch lots of yeast
Lagers ferment much colder than ales, typically in the neighborhood of 45–55°F (7–13°C). Like people, yeasts slow down when they get cold, which means you need more cells to accomplish the task at hand. Aim to pitch about twice as much yeast for a lager as you would for an ale of the same original gravity. If making a huge starter doesn’t sound appealing to you, consider using one of the excellent dry strains available, like Saflager W-34/70 or S-189.
2) Pitch cold
It’s common practice in homebrewing to pitch yeast into room temperature lager wort and then cool the fermentation to 45–55°F (7–13°C). But this technique is almost guaranteed to create unwanted esters, which are frowned upon in a great lager. If you pitch enough yeast, there’s no reason to pitch warm. Use an appropriately sized pitch and go straight into the cold temperature your yeast strain prefers.
[LEARN: Lager Yeast Strain Selection for Style, Flavor, and Aroma]
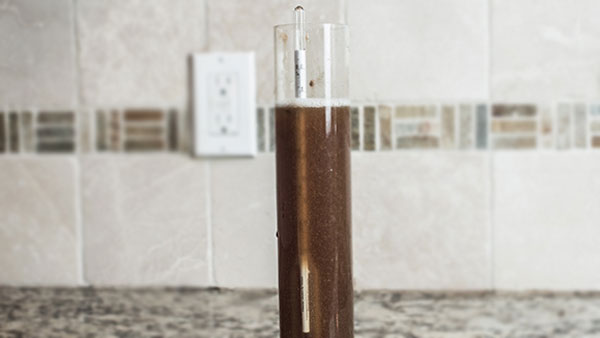
3) Consider accelerated fermentation
Pitching cold can mean longer fermentation, but there’s a convenient trick to speed things along. Take regular gravity readings, and boost the temperature by 5° F (2.8° C) when your beer is about halfway to completion. If the wort has an original specific gravity (SG) of 1.050 (12.5° Plato) and you expect terminal gravity to be around 1.010 SG (2.5° P), then your lager yeast needs to chew through 40 specific gravity points (10° P) to get from point A to point B. Half of 40 SG (10° P) is 20 SG (5° P), which means you can raise the temperature when you measure a specific gravity of 1.030 (7.5° P). If you want to accelerate things even faster, consider using the fast lager fermentation schedule (Editor’s note: AHA members can access this seminar on the Homebrew Con Presentations page) that Mike “Tasty” McDole presented at the 2016 Homebrew Con.
4) Conduct a diacetyl rest
Lager fermentation is colder and much less aggressive than ale fermentation, which offers an opportunity for more diacetyl to remain in the finished beer (warmer temperatures promote diacetyl reduction). If you pitch enough yeast cells and conduct a healthy fermentation, then diacetyl is unlikely to be a problem, but there’s an easy way to be certain. When fermentation nears its end, just raise the temperature to 60° F (16° C) and hold it there for a couple of days. That’s it. It’s cheap insurance, and it’s virtually guaranteed to rid your lager of any remaining buttery diacetyl.
[MORE: Browse through hundreds of beer, mead, and cider recipes]
5) Be patient
The word lager comes from the German lagern, which means “to keep” or “to store.” The etymology hints at the long, cold conditioning phase traditionally associated with these beer styles. Homebrewers who conduct accelerated fermentation schedules are often able to turn out great lagers in as little as two weeks, but there is no harm in waiting longer. In fact, patience is a virtue with these beers, and lagers are often better with some age. Keep your finished lagers cold, near the freezing point of water (32° F or 0° C) until you’re ready to package them, and they’ll happily wait for you. I usually aim for about a week of lagering for every 10 points (2.5° P) of original gravity. Thus, a 1.050 (12.5° P) lager would get about five weeks of cold storage. If you can carve out a brew day but are unsure when you’ll get around to bottling or kegging, lager might be a great choice for you.
Cold-fermented beer is back, and with these 5 simple tips, you’ll be well on your way to enjoying smooth, homebrewed Pilsner, bock, and IPL in no time.
* * *
Dave Carpenter is editor-in-chief of Zymurgy magazine.
Share Post