By John Moorhead, American Homebrewers Association
This post is a follow-up to How to Grow Hops at Home.
When to Pick Your Hops
The time has come. You’ve planned, pruned, monitored, cared for and put in the hours for you homegrown hops all summer. You’re starting to see those cones grow up the vine and you just can’t contain your excitement! Curb it just a little longer. A common mistake is picking the cones too early. You want to pick over-ripe hops rather than under-ripe hops, otherwise you’ll deprive them of those awesome alpha acids.
Depending on location, harvest occurs between mid-August and September. If these are first-year hops, expect a small harvest—most of the energy throughout the growing period is used to develop the root systems, making it difficult for cones to reach their peak yield. Expect a fuller harvest in the second year, and a big leap in hop yield the third year.
How to Check Hop Cone Ripeness
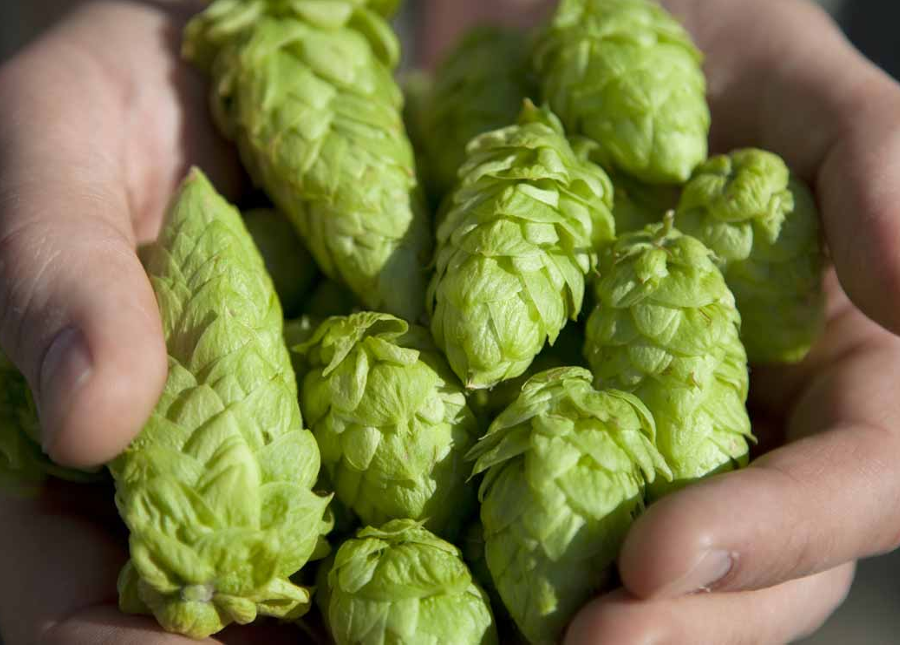
- Give the cone a light squeeze. If the cone stays compressed, it’s not ripe enough. When they feel light and dry—and spring back after a squeeze—they’re ready to be harvested.
- Pick a cone, roll it in your hands and smell it. If it has a pungent smell between cut grass and onion, it’s time to harvest.
- Roll the hop next to your ear. If it makes a cricket sound, this also means they’re ready to harvest. If the lupulin turns orange and smells rancid, you’ve overshot your window.
- The hop should be springy, dry and papery on the tips, and sticky to the touch.
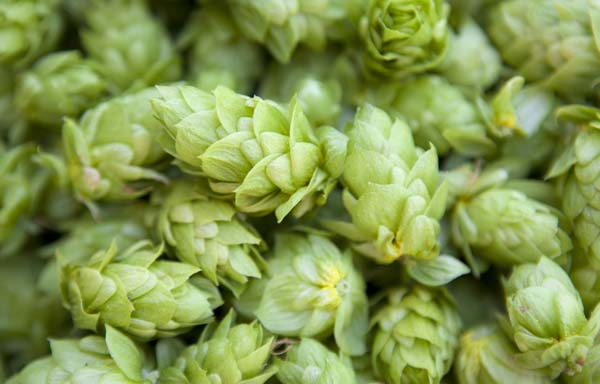
- Look for lupulin, the visible, thick yellow substance on the outside of the cone.
Harvesting Your Hops
There are two methods for picking your hops: pick by hand (recommended for first-year harvests) or cut down the bine (recommended for all harvests after the first year).
If you cut the bine down, cut two to three feet above the ground to prevent injury to the root system and crown. For first year bines, try to pick the cones and not cut down the bine until it dies off. Vital nutrients will flow back to the root system for the winter months and ensure it survives. For following years, cut the bine down and be careful not to damage or dirty those precious lupulin glands. You should expect one to two pounds of dry hops per mature plant.
Be sure to wear durable, abrasive resistant clothing, gloves and goggles during harvest. Hops have hooked hairs that can cause cause skin rash and small cuts.
Now, invite some friends over to help you pick the hops while enjoying some homebrew!
How to Dry Hops at Home
You’ve picked your hops, but you’re still not done. After you pick hops, you have two options: throw them directly into a brew and make a wet-hopped beer or dry them to use later.
Fresh hops are about 80 percent water, so you’ll need to use more than you would with dry hops. In general, wet hops are used four to six times the dry hop rate. For example four to six ounces of wet hops would be the equivalent of one ounce of pelleted dry hops.
If you choose to dry your hops to use later, you can also more easily predict alpha acid contribution, as dried hops are about 10 percent water, the equivalent of commercial hops.
Important factors for drying hops: time, light, heat and moisture.
To prevent oxidation and isomerization, drying shouldn’t last more than three days and heating temperatures shouldn’t exceed 140°F (60°C). Drying your hops is going to drive off some wanted aromatics, but temperatures above the 140°F threshold will drive off many more complexities.
There are a few different methods used for drying hops. The key is to dry them quickly without heating them up too much. Cooler temperatures will take longer, but will produce better quality hops.
Hop Drying Methods:
Food dehydrator: Using a food dehydrator is the easiest way to dry out your hops as it ensures air movement but does not get excessively hot.
Well-ventilated oven: You can use your oven to dry your hops by spreading them out on a pan. You will need to make sure that you get adequate air flow through the oven, watching closely by checking on them at least every 20 minutes. The temperature should never exceed 140°F (60°C).
Hop drying screen: If you have a small amount of hops to dry, the easiest way to do so is spread them out over a window screen or a house air filter. Place them in a warm, dry location. You can use landscape fabric over the top to keep them in the dark and occasionally fluff the hops so moist inner cones are brought to the outside of the pile. Leave them for a few days with a fan under or next to them to maintain air flow. You will also want to elevate the screen to improve air flow.
The hops need a moisture content of eight to 10 percent by weight to prevent molding. To see if they’re dry enough, try breaking the central stem of the cone, it should be brittle enough to snap in half. When dry, the yellow powdery lupulin should easily fall from the cone and the leaves should have a papery and springy texture. If your hops aren’t properly dried before storage, they could become moldy, wilted or rancid.
 Package Your Hops
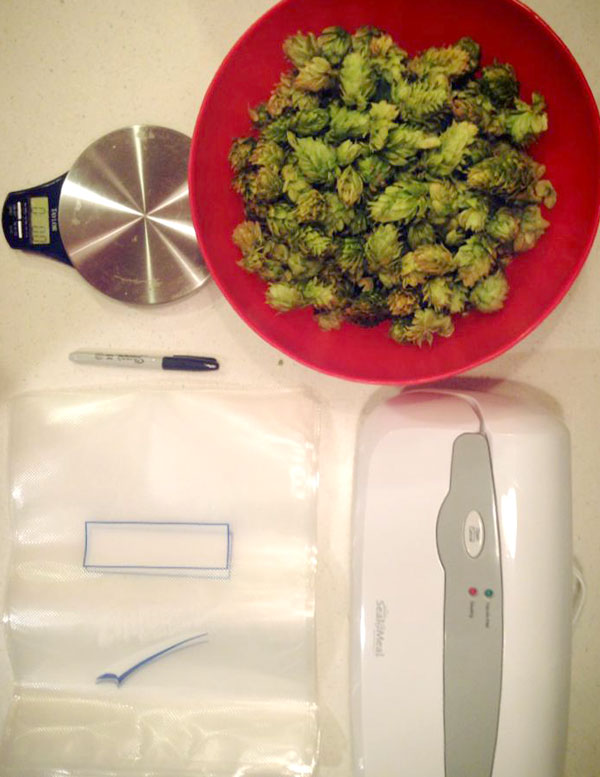
You’ll probably want to save some hops for later brew days, so making sure they are preserved for maximum brewing potential is important. First, you want to weigh them out and separate them into one to two ounce bags so you will only have to defrost the amount you need when it’s time to brew again.
Once you’ve divided up your hops into plastic freezer bags, food saver bags, or air tight jars, push as much air out of the containers as possible. A vacuum seal is ideal for this process, but not necessary. You’ll flatten out and crush your pretty little hop cones, but it’s for their own good! You don’t want any oxygen contaminating and ruining all your hard work. Label them with the type of hop and toss them into the freezer for safe keeping.

Share Post