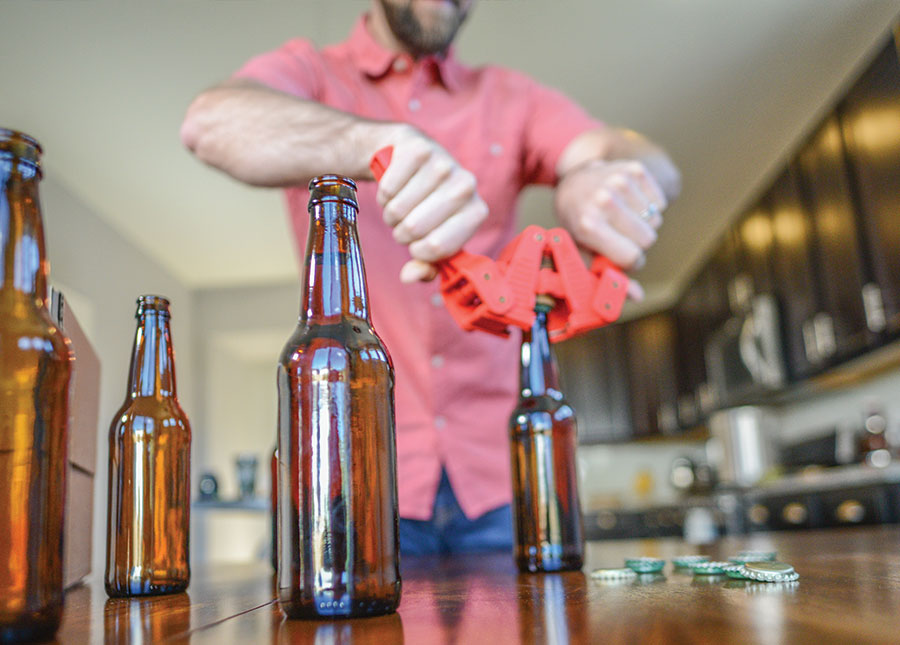
Bottling homebrew is a great way to store and share your homemade beer, and the best part is you can reuse bottles from your favorite craft breweries.
Some people might not mind a hodgepodge of labels on their bottles, but if you do here’s a trick to easily remove beer bottle labels while thoroughly cleaning the bottles at the same time!
1. Collect Empty Bottles
Gather enough empty glass bottles to hold your batch of beer. The standard 5-gallon batch requires about 50 12-ounce bottles or 29 22-ounce bombers. Avoid bottles that have twist-off tops since bottle caps can have a hard time making an airtight seal on the threads. You might also avoid bottles with sticker labels/wraps, since these can be very difficult and time-consuming to remove.
To make things even easier on yourself later, rinse out the bottles before you put them aside. This will prevent hard-to-remove “gunk” (a technical homebrewing term) from forming inside the bottles, which may require the extra step of scrubbing.
[LEARN: Mastering the art of bottle conditioning]
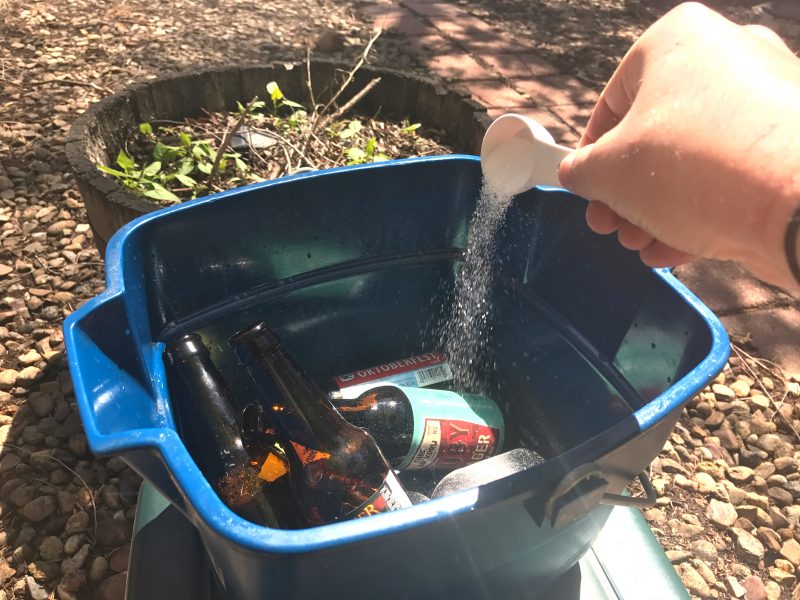
2. Soak Bottles
Find a vessel that can hold the bottles and enough water to submerge them. Some people use plastic bins or brew buckets, while others opt for their cleaned sink or tub (use a drain screen to prevent paper from clogging your pipes!). In any case, the important thing is that all the bottles can be totally submerged in soapy water for a lengthy period of time.
Once the bottles are in the vessel, add in some dish soap (I use OxiClean) per the directions. Allow the bottles to soak for 12 to 24+ hours. The longer they soak, the easier the labels and any sediment can be removed without too much scrubbing (or any at all!).
[Editor’s note: some of our readers have informed us that baking soda can be used instead of soap, and can often times achieve the same process in just an hour or so!]
3. Remove Labels
After the soaking period, it’s time to get those labels off. Many of the labels should slide right off, but some might require a few scrubs from an abrasive sponge to remove any leftover glue residue. If you notice all the labels are not coming off easily, consider letting them soak for another few hours.
You may run into some bottles with sticker wraps/labels that are extremely difficult to remove. Make a note of these to avoid for your next round of de-labeling!
4. Rinse Clean
Thoroughly rinse the inside and out of the bottles with fresh water, and set aside to dry. A jet washer that can hook up to your sink or hose makes for quick and easy rinsing of the inside of a bottle and can break loose any sediment that may have been left behind. Inspect bottles to ensure there is no sediment after the rinse. If there is, put it back into the soapy water to soak and/or use a bristled bottle brush to break the sediment free.
[WATCH: The use of dry yeast for fermentation and bottle conditioning]
5. Bottle Beer
Once the bottles are all de-labeled and cleaned, you can sanitize them and start the bottling process. Check out the video tutorials below on how to bottle beer at home. Now go share some bottles with your friends and family!
* * *
Duncan Bryant is the Web Editor for the American Homebrewers Association.
Share Post