By Sam Eskenazi
Making your own hot sauce might sound oddly industrial, but chiles are one of the most straightforward foods you can ferment. What follows are my recipes and procedures for making fermented hot sauce at home. You can follow along or alter the recipes with your favorite pepper, spice, and flavor combinations!
The Equipment
Here is what you’ll need to make your own fermented hot sauce:
Gloves: Never, ever handle hot peppers without gloves! Disposable food-safe gloves will do the trick and protect you from horrendously painful pepper bits in your eyes.
Kitchen scale: For measuring the weight of water and salt.
Fermentation vessel: This is the vessel you’ll keep the peppers in as they ferment. While you can buy special fermentation jars online, you can really use any container with an airtight seal. If you are using a vessel that doesn’t have a built-in pressure relief valve, you’ll need to “burp” the vessel once a day to release excess CO2. Burping is as simple as opening the top, letting out the pressure, and sealing it shut again.
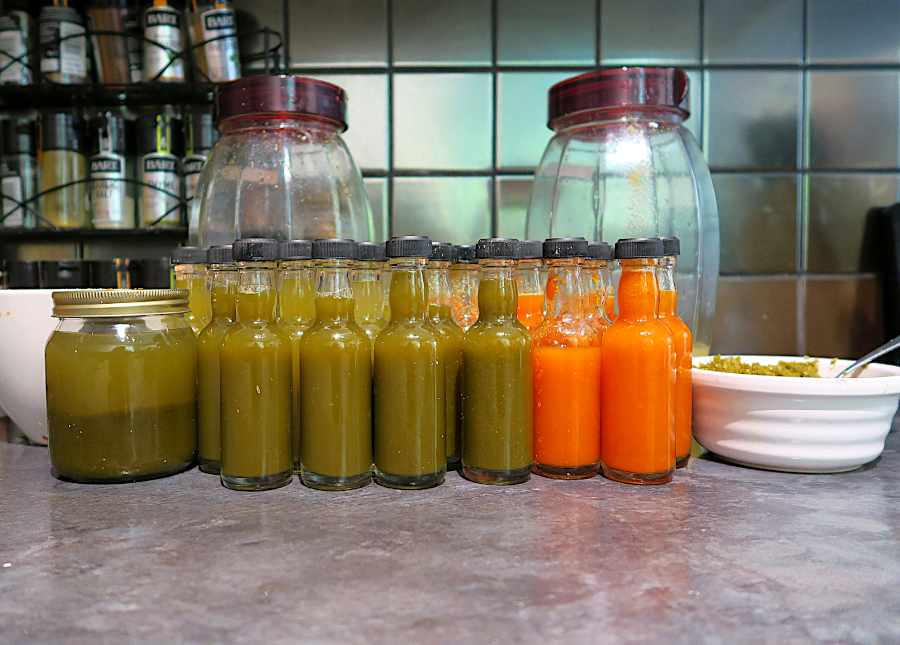
“Woozy” bottles: These are special little bottles designed for hot sauces and other types of liquid condiments. They are typically very sturdy and come in sizes perfect for your finished hot sauce. If you don’t want to buy new woozy bottles, just reuse old hot sauce bottles! Using a small funnel or conveniently sized measuring cup can make the filling process a lot faster and easier.
Blender: Any high-speed blender should do the trick!
Sieve: To separate remaining pepper particulate out of the hot sauce.
Fermented Hot Sauce Recipes
In its most basic form, a fermented hot sauce recipe is simply made with peppers and a brine. From there, you can add in seasonings and spices. It’s always wise to consider the flavor profile of the peppers you use when determining additional ingredients to complement them.
To demonstrate, here are two different fermented hot sauce recipes using different types of peppers. Each recipe will yield about 3/4 quart (700 mL) of hot sauce.
Fermented Hot Sauce Recipe #1: Fruity & Spicy
- 3 lb. (1.36 kg) Fresno peppers
- 8 oz. (227 g) habanero peppers
- 3 dried hibiscus flowers
- 3 crushed garlic cloves
- 4 cardamom pods
- 1 tsp. (5 mL) coriander seed
- 1 tsp. (5 mL) whole black pepper
Fermented Hot Sauce Recipe #2: Mexican
- 3 lb. (1.36 kg) jalapeno peppers
- 1 lb. (454 g) poblano peppers
- 1 tsp. (5 mL) oregano
- 2 tsp. (10 mL) crushed cumin seed
- 3 crushed garlic cloves
Preparing the Ingredients
The preparation for your hot sauce involves two basic parts: processing your peppers and preparing your spice mix.
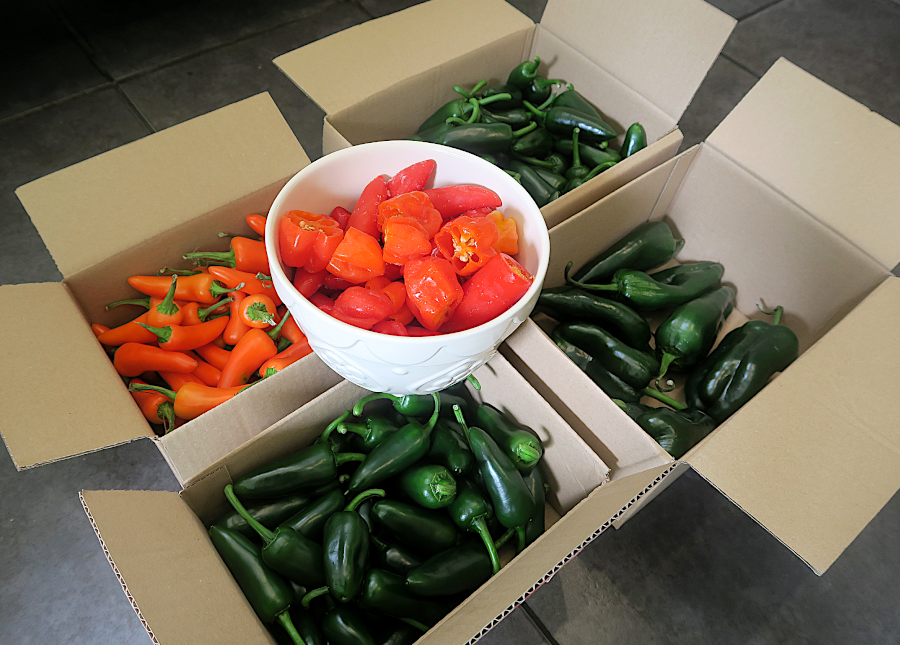
For your peppers, start by cutting off the stems and slicing the peppers lengthwise (don’t forget your gloves!). De-seed the peppers using your hand and/or by running the sharp side of a knife along the interior.
You are trying to remove as many of the seeds and as much of the pith (the white parts) as possible. It’s OK if a few seeds remain! Removing the seeds and pith not only helps reduce the heat of the hot sauce, but also keeps small pieces of seed from getting mashed in the blend. These mashed seed-pieces can add an unpleasant bitterness to the flavor, as well as thicken the sauce. Plus, you don’t want seed pieces getting stuck in your throat!
For the spice blend, it entirely depends on what ingredients you want to include!
If you are making the fruity and spicy hot sauce recipe above, simply crush and peel the garlic and separate a few hibiscus flowers and cardamom pods. Don’t worry about opening them, as the liquid will permeate their skins.
For the Mexican hot sauce recipe above, crush and peel the garlic, and then crush the cumin seeds. Crushing seeds like this is easily done using a mortar and pestle or by pulsing coffee grinder. Crush them enough just enough to crack them open and help release the flavor.
Combining Ingredients
With the ingredients prepared, the next step in getting ready for fermentation is making the brine. A brine is a solution of water, salt, and sugar that preserves your peppers and allows naturally occurring Lactobacillus bacteria to start the fermentation process.
Brines are calculated based on percentages, so you only really need to decide how salty you want the final brine to be. For chile peppers, it’s best to use a 3–5% brine. To figure out this percentage, weigh your water and then add between 3% and 5% of that weight in salt. I use a 3.5% mixture. You’ll want enough brine to cover the peppers and fill the vessel to the brim.
Sugar (e.g. granulated white sugar) can also be added to encourage fermentation to begin and give the final product a sweeter taste, though this is entirely up to you. Using equal parts sugar and salt will make for a pleasantly sweet counterpoint, or you can use half as much sugar as salt for a slightly sweet backdrop. You can also skip the sugar completely—peppers contain enough natural sugar—but adding sugar makes fermentation more visible the first few days (i.e. it bubbles a lot more!).
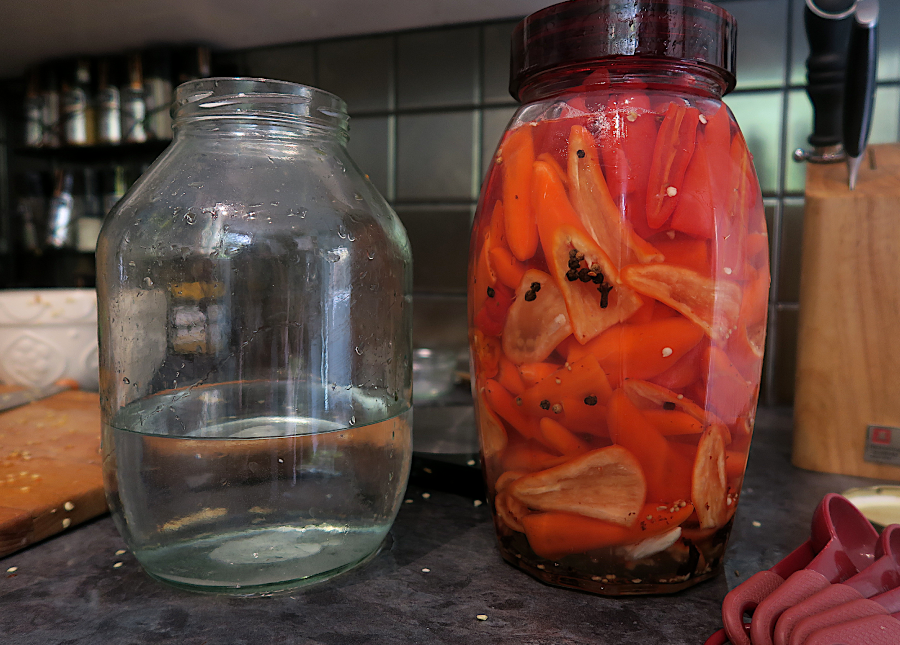
With the brine prepared, fill your chosen fermentation jar with a small amount of your brine and roughly half of the spice mix. Then add the peppers and the rest of your spices. The jar should be completely filled with peppers, and you can use your hands (with gloves!) to pack in the peppers. The peppers will shrink in size as fermentation progresses.
Lastly, top up your jar with the rest of the brine. It should almost meet the lid of your vessel. Now just seal the jar shut!
Fermentation Management
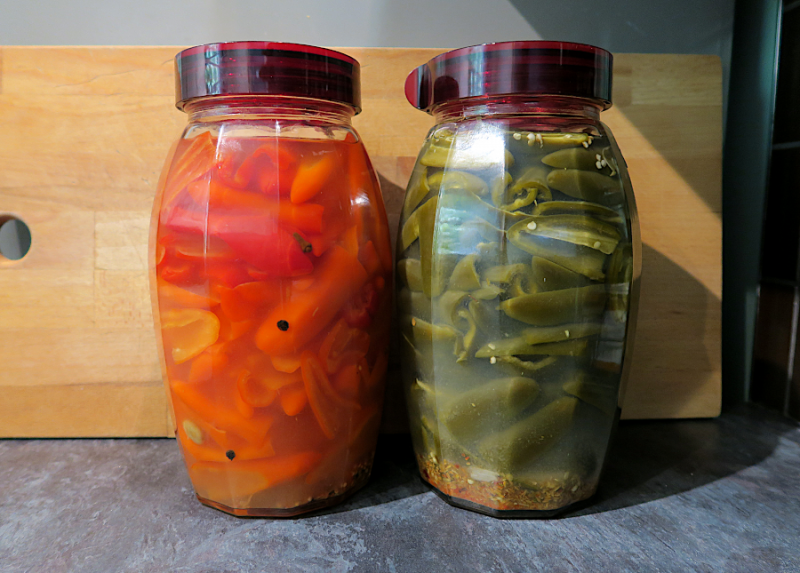
Fermentation should be held at around 70°F (21°C). You might also consider keeping it out of direct light to prevent it from heating up too much during the day.
If your fermentation vessel does not have a pressure relief valve that allows CO2 to escape, then you need to open the jar daily, ideally around the same time each day. This process, known as “burping,” relieves pressure, and failure to do this can cause the fermentation vessel to explode.
The peppers will stop fermenting about a month after fermentation started. In this time, the mixture will have developed a funky fermented flavor while still allowing the natural flavors of the peppers to shine.
Blending & Packaging
Once you’ve decided fermentation is complete, pour the entire contents of the fermentation jar through the sieve, saving 1–2 cups (250–500 mL) of the brine for the following steps.
Tip: The leftover brine is fridge stable! You can use this as a table sauce or to marinate something like chicken or fish for a gigantic flavor boost.
Next, dump all the solids from the sieve into the blender, along with half a cup (250 mL) of brine to help liquify the mixture. Blend at varying speeds to turn this into hot sauce consistency! You might need to add in a bit more brine, depending on the final viscosity of your peppers.
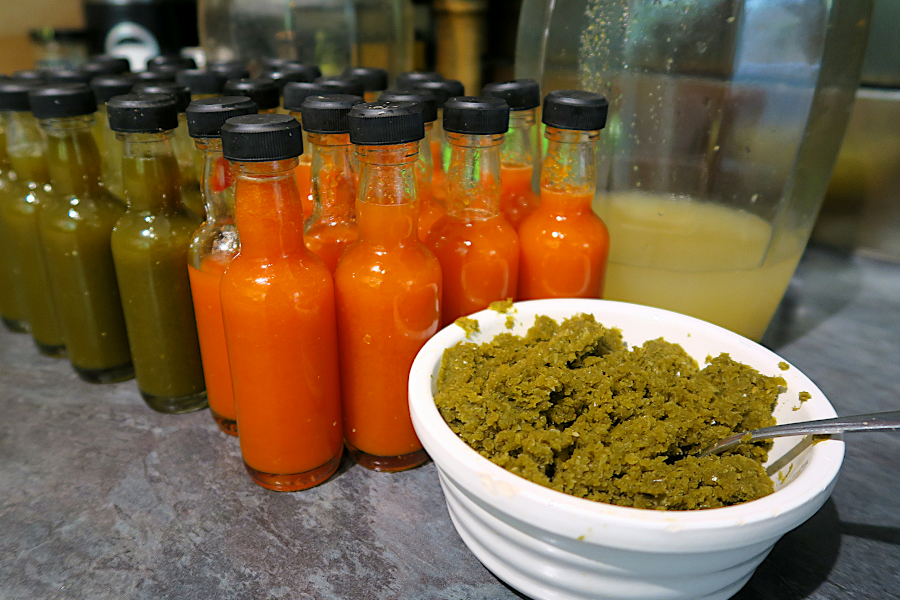
Once the mixture is thoroughly blended, you simply need to pour it into bottles using either a funnel or a very conveniently sized measuring cup. Then seal them tight.
Your hot sauce is now fully fermented, fridge-stable, and ready for consumption!
Storage & Shelf-Life
It is recommended to store fermented hot sauces in the fridge, especially if you plan on keeping them for a longer period of time. In warmer temperatures, there is the risk of unwanted bacterial growth that can cause spoilage.
As long as the lids are kept on and at fridge temperature, these hot sauces will last as long as you can stand not to eat them.
* * *
Sam is a writer from the UK with a strange fixation on making as many things from scratch as possible. Whether it’s brewing beer or making hot sauce, Sam is determined to try and make everything, as well as writing or making videos about it as he goes. Follow him on Twitter @Aldrahill.
Share Post