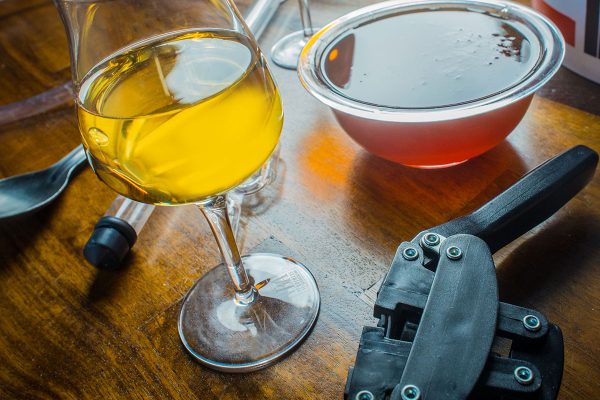
Like brewing beer, making mead can be as simple or as complicated as you want to make it. This tutorial covers one of the easiest ways to make mead at home, without the use of any heat in order to preserve the flavor and aroma characteristics of the honey. For the healthy fermentation, it is recommended to incorporate a staggered nutrient schedule.
Review
Read through the mead recipe and review the following meadmaking steps entirely before starting your day to ensure maximum efficiency and understandingThis tutorial will walk you through the process for making a traditional dry mead. The same steps can be applied to most mead recipes, although instructions for other mead styles will vary.

Gather supplies
Ensure you have all the equipment and ingredients necessary to make mead.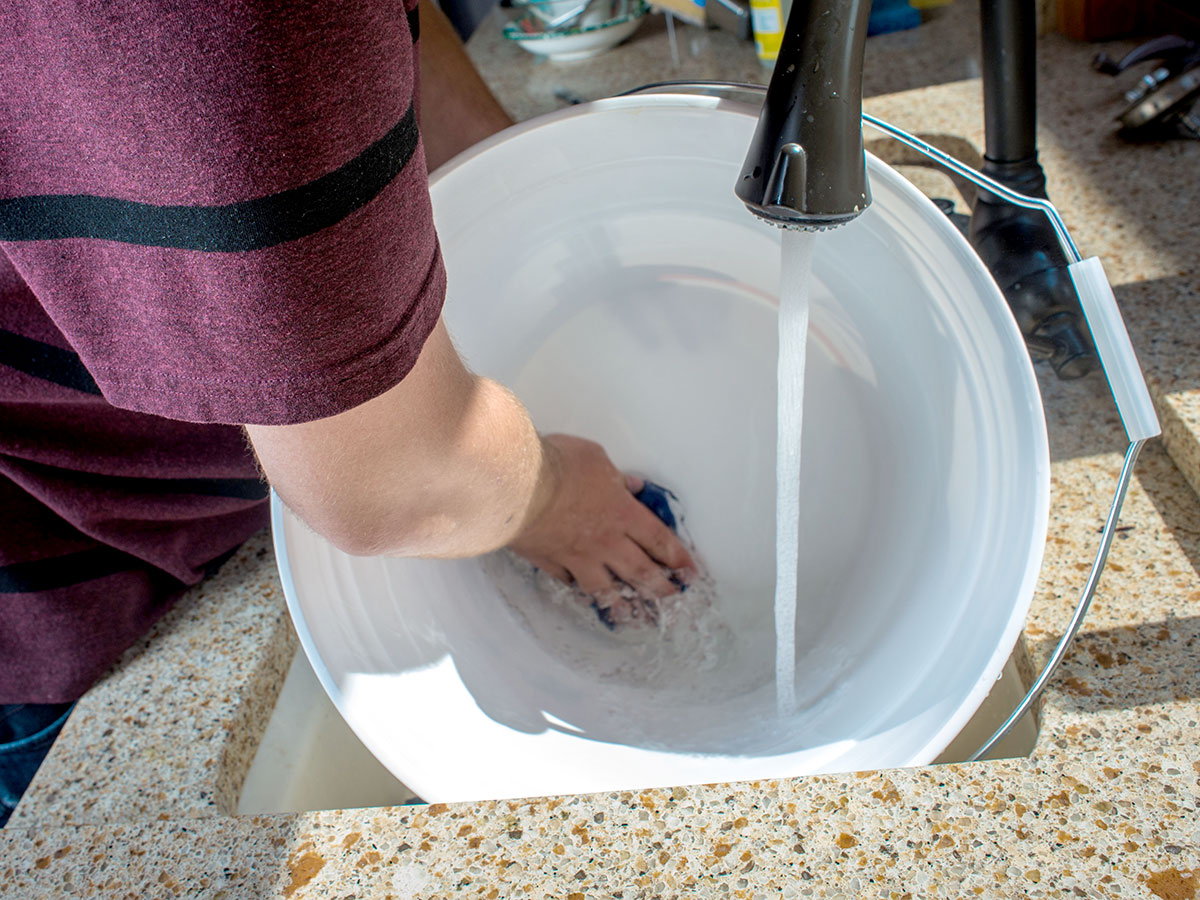
Clean equipment
Using unscented cleanser, thoroughly clean all meadmaking equipment.Debris on equipment can harbor microorganisms that can spoil a batch of mead, even with proper sanitation.

Warm honey
Submerge the containers of honey in a warm water bath. A sink or bucket works well, but make sure no water will get into the containers.Warming the honey ahead of time will help liquefy any solid crystals in the honey and make it easier to pour into the fermenter.

Sanitize equipment
While the honey is warming, thoroughly sanitize all equipment and tools that will come into contact with the ingredients.We recommend no-rinse sanitizer in a spray bottle for quick sanitation!
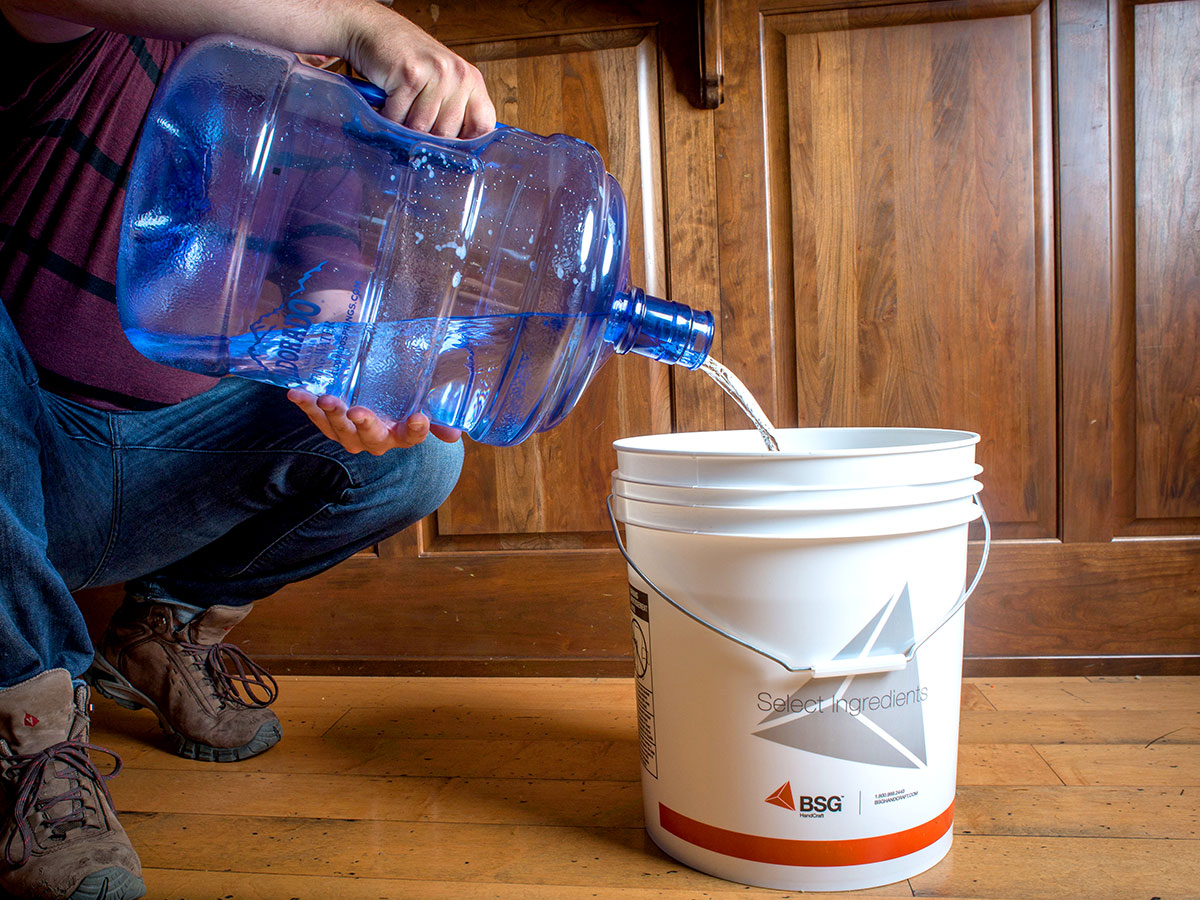
Add water
Fill the clean and sanitzed primary fermenter half way with water. 2-3 gallons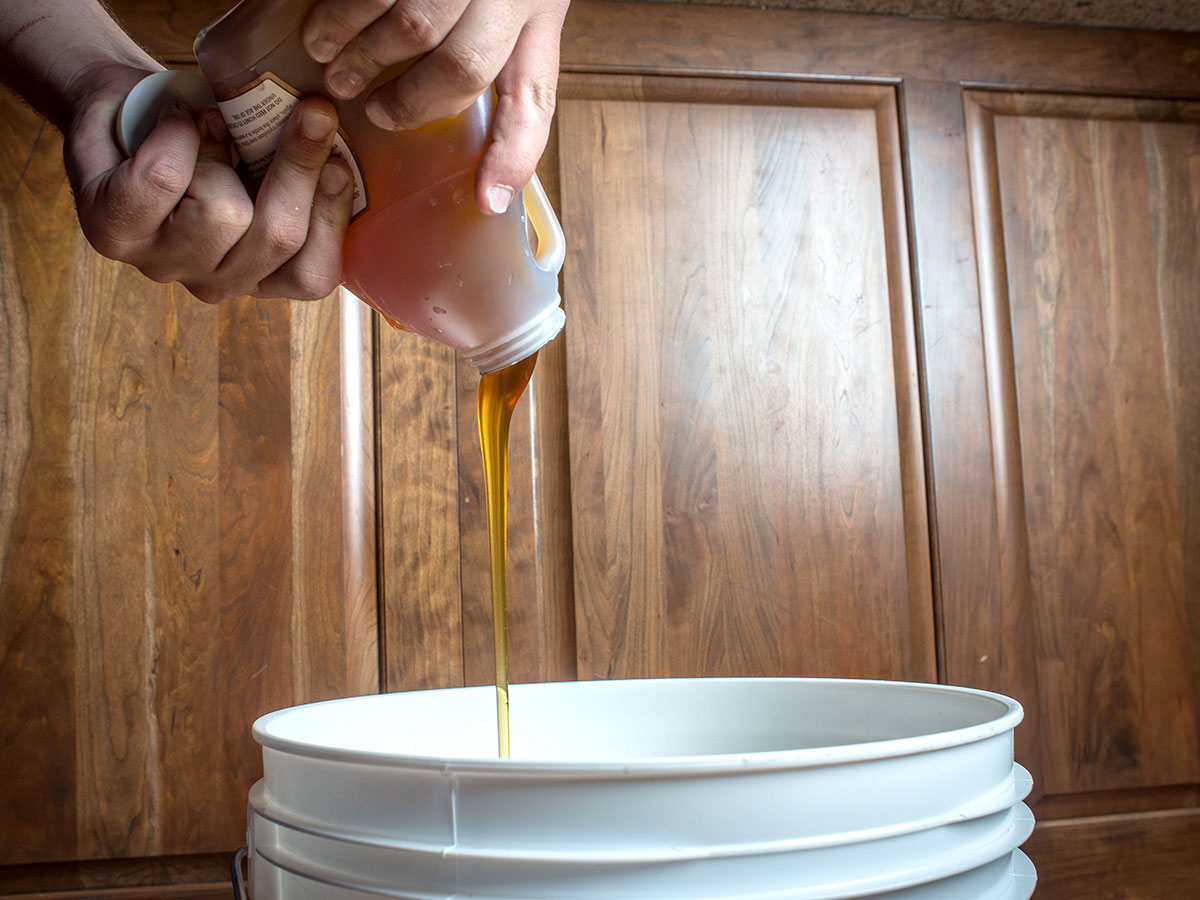
Add honey
Remove the honey from the warm water bath, and proceed to add it to the half-full fermenter.Using a sanitzed spoon, or by simply sealing the fermenter and shaking, mix the honey into the water until dissolved.

Top off
Add enough water to the honey and water mixture in the fermenter until you reach a total volume of 5 gallons (19 L).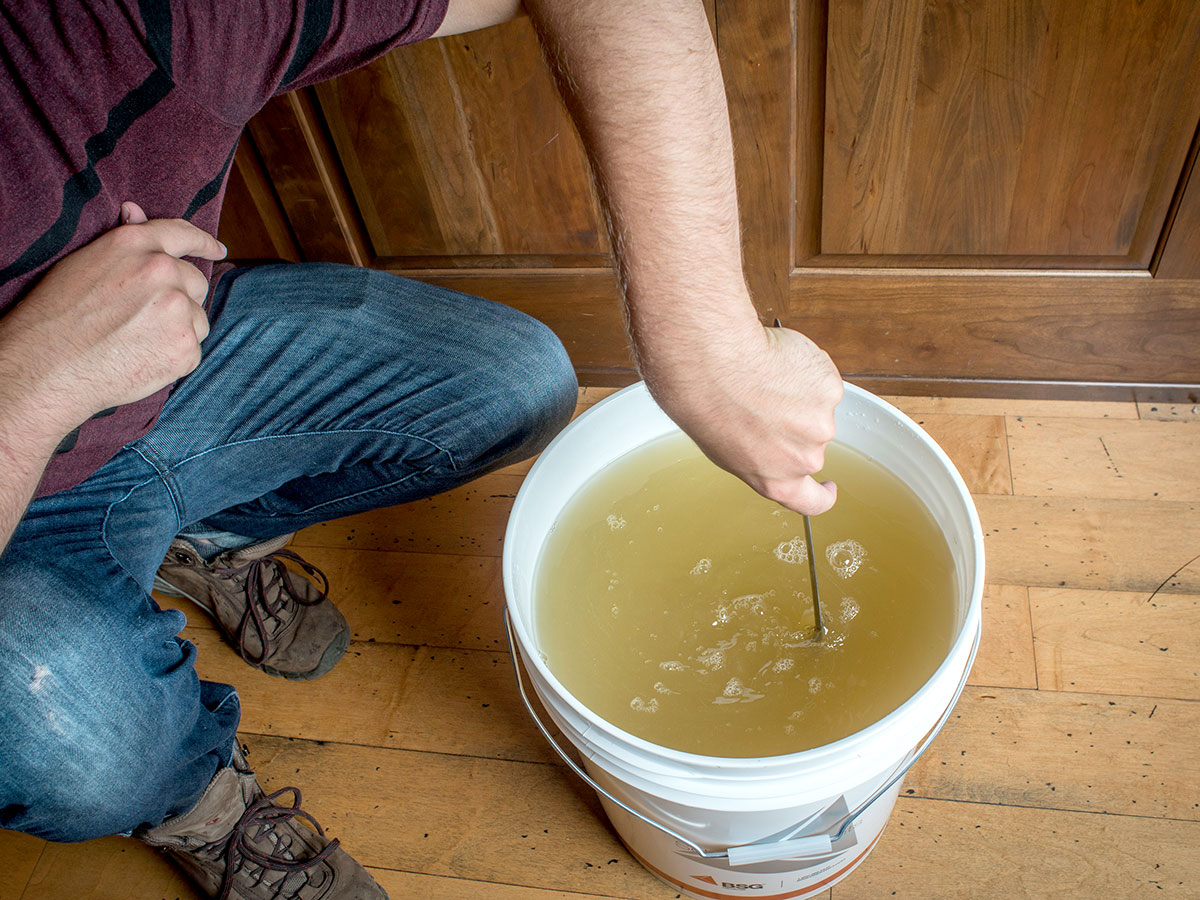
Mix thoroughly
With the full batch volume in the fermenter, use a sanitized spoon or seal the carboy and shake until the honey and water is completely mixed. If after mixing you notice a darker layer on the bottom half of the carboy and ligther layer on top, then the honey is not fully dissolved.Before being fermented into mead, the honey and water mixture is called “must.”
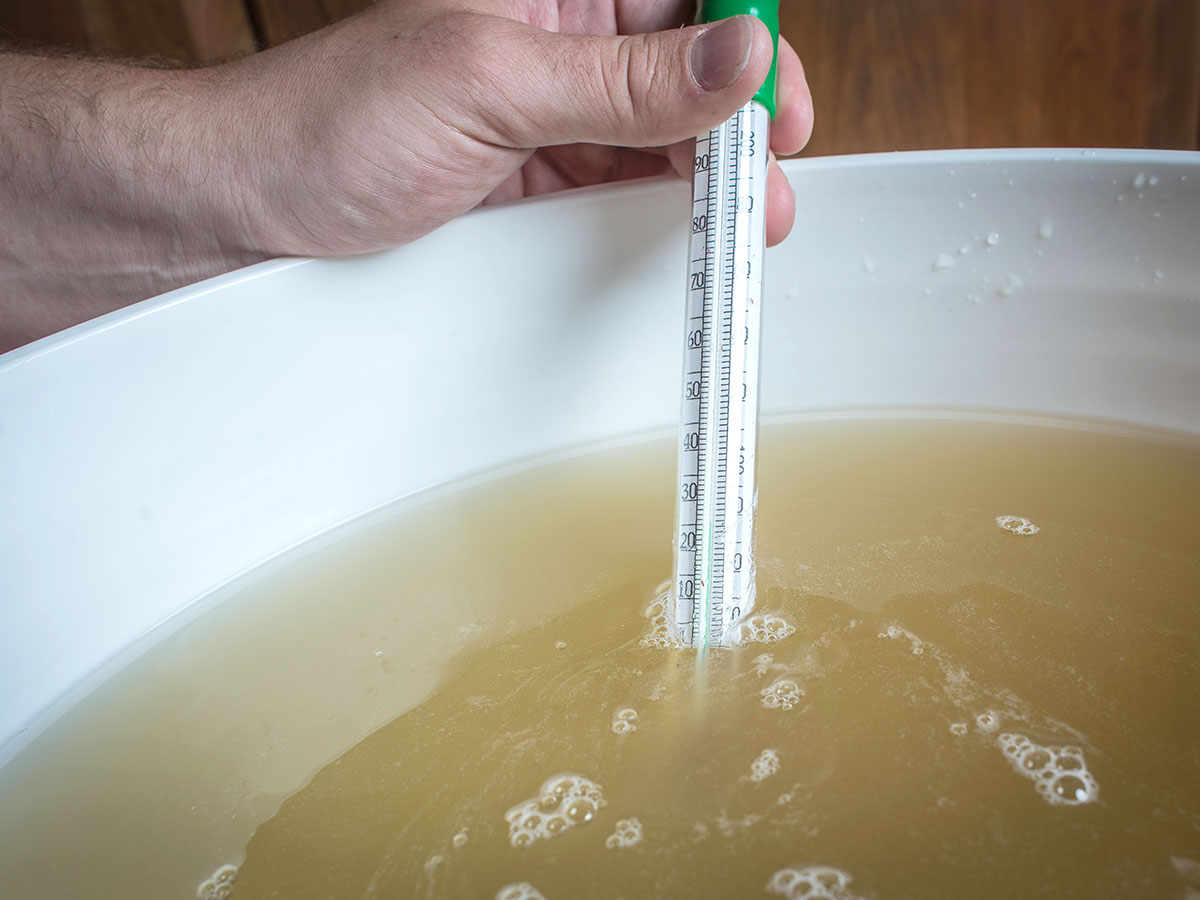
Take temperature
Using a clean and sanitzed thermometer, measure the temperature of the must. Allow the must to cool to 65-75°F (18-24°C) prior to adding the yeast.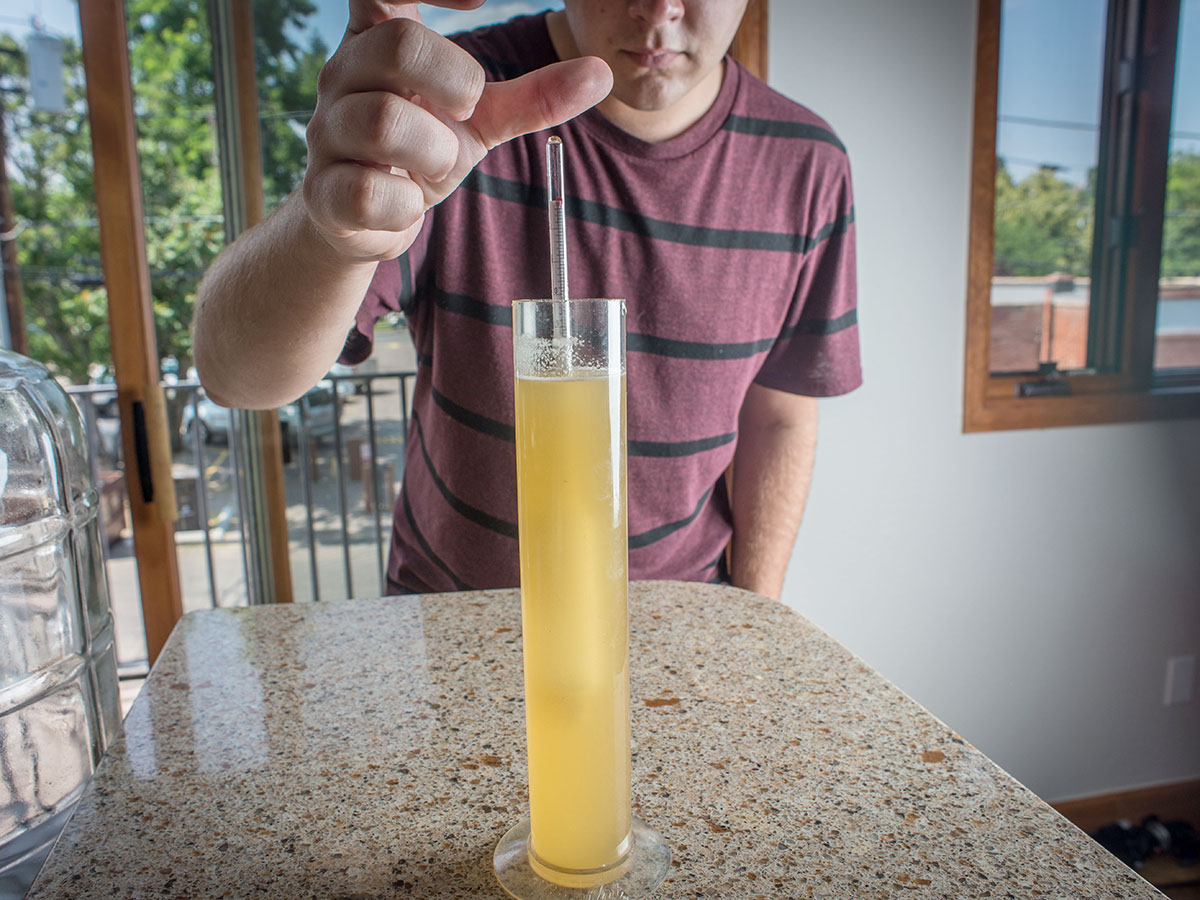
Gravity reading
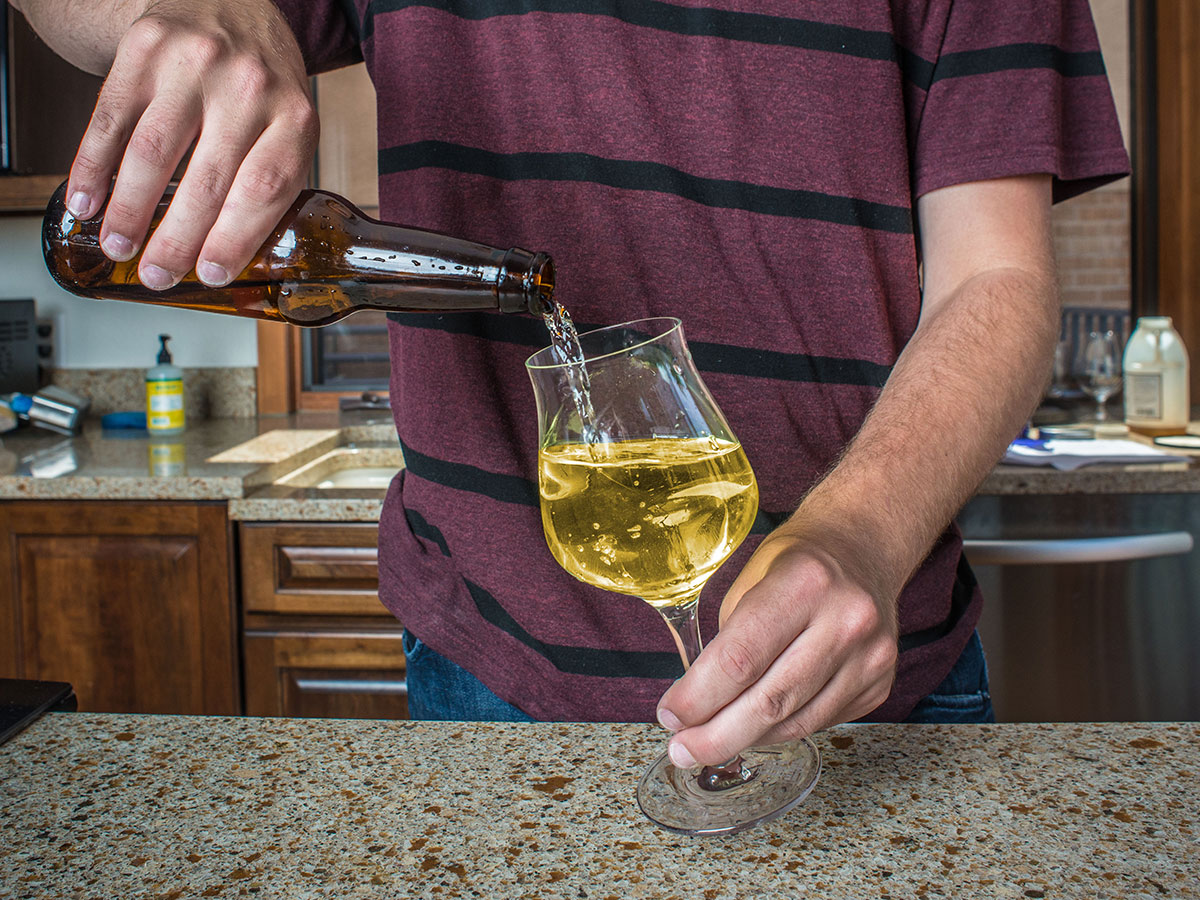
Optional: Before pitching the yeast, pull a sample of the must and take a gravity reading using a hydrometer. This will allow you to measure the original gravity and calculate the alcohol content after fermentation.Do not return the sample to the fermenter because it can cause infection.
If you’ve never measured gravity before, take a look at how to read a hydrometer.
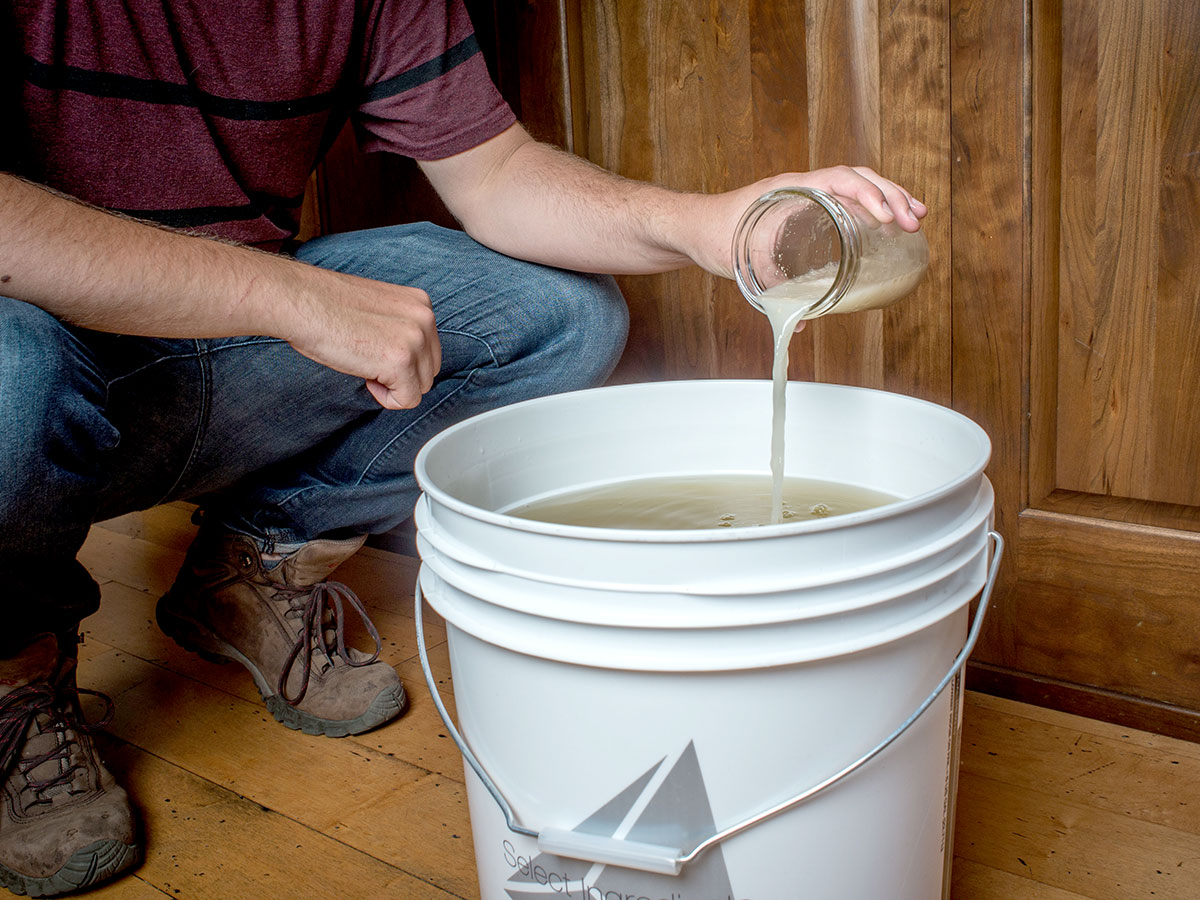
Pitch Yeast
Once in the 60-70°F (15.5-21°C) temperature range, it is time to add the yeast to the must. This process is called “pitching the yeast.”Though optional, when using dry yeast it is highly recommended to follow the manufacture’s directions on how to rehydrate dry yeast prior to adding it to the must.
After pitching the yeast, you can add in the nutrient, too.
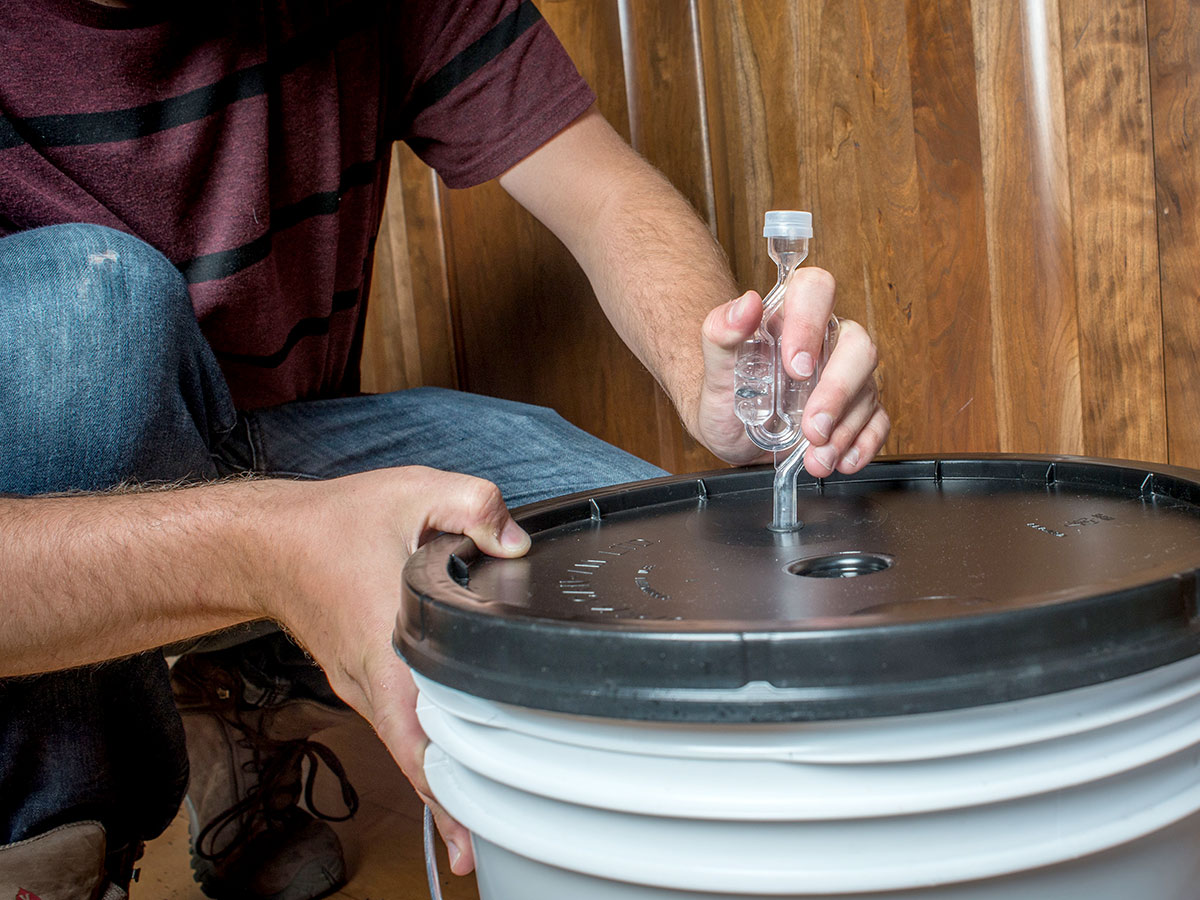
Seal fermenter
If using a bucket fermenter for primary, tightly secure the lid and put an airlock in the hole of the lid. If using a carboy jug, use the appropriate sized bung with an airlock.Fill the airlock with no-rinse santizer, a high-gravity alcohol, or something else that will not infect or change the flavor of the mead if it gets inside.

Aerate must
As is the case when making beer, it is crucial to provide enough oxygen to the yeast at the point of pitching. While mixing the honey into the water will provide a lot of oxygen, but you may want to also give the primary fermenter a few shakes just in case.After the initial aeration of the must at the time of pitching, it is crucial that you prevent the must/mead from splashing because this can cause oxidation, which can instill off flavors and shorten shelf life.
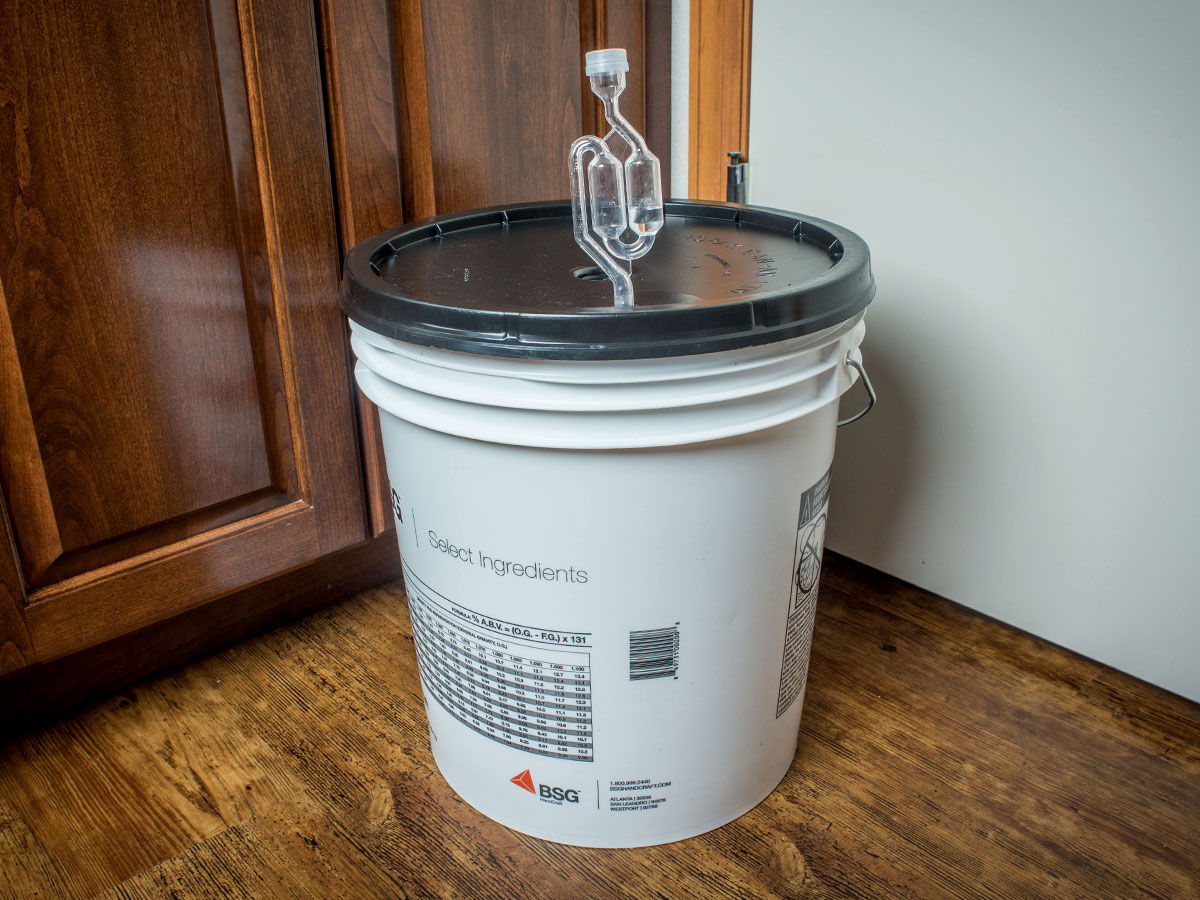
Store fermenter
With the yeast pitched and the primary sealed, place the fermenter in a location where the temperature will be within the range of 60-70°F, with lower temperatures being more favorable.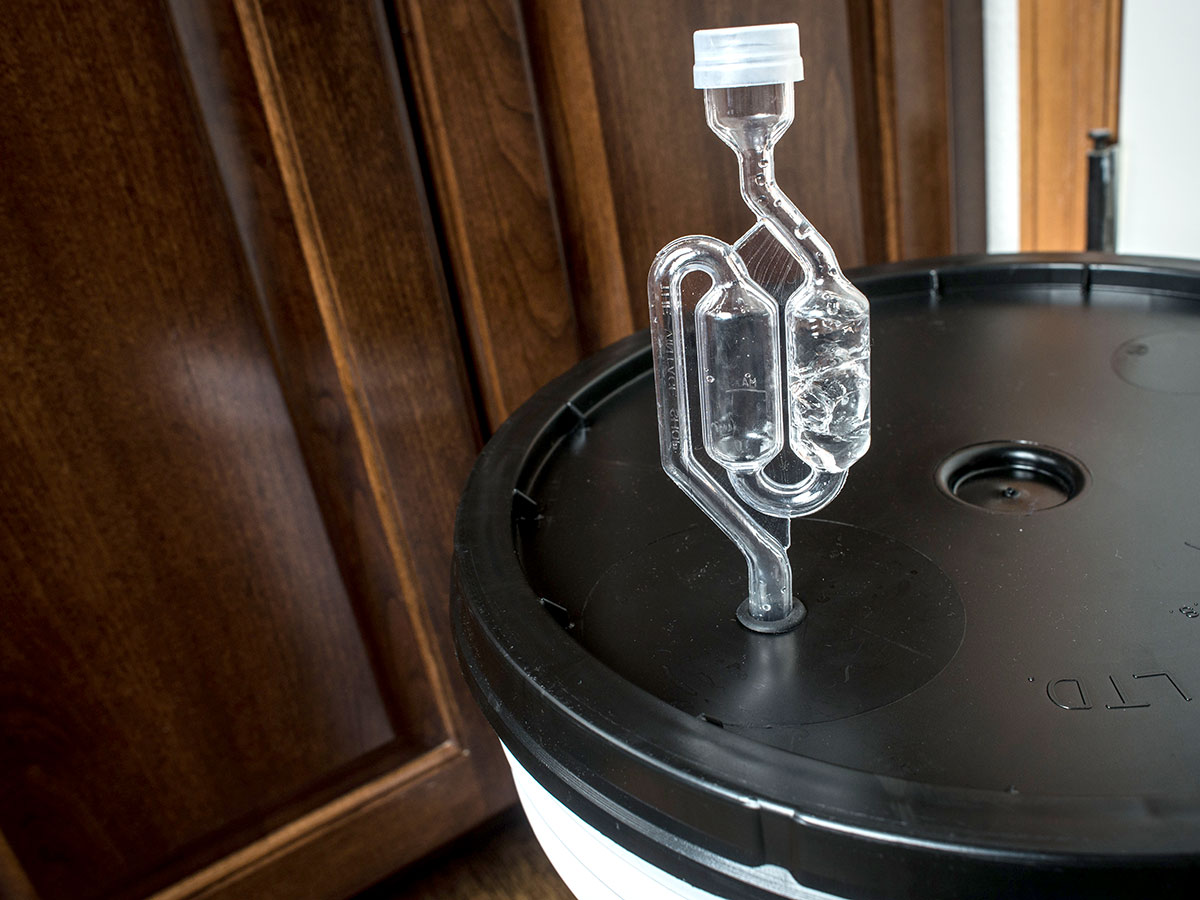
Monitor Fermentation
Signs of fermentation should be visible within 24 hours. You should notice the airlock bubbling. This is CO2, a byproduct of fermentation, escaping through the airlock. If the bubbling slows down or stops, it doesn’t necessarily mean fermentation has ceased.
Transfer to secondary
After 2-3 weeks, the bubbling of the airlock should slow down or cease completely, signifying primary fermentation is nearly complete. At this point, the mead can be transferred off the yeast into a secondary where it can age for a longer period of time.Transfer the mead to a clean and sanitized secondary fermenter using clean and sanitized equipment, such as an auto-siphon.
Note: you want as little head space as possible in secondary to prevent the presence of oxygen.

Age
Place the secondary fermenter back in an area that can hold the yeast’s target fermentation temperatures with minimal disturbance.During secondary, fermentation will finish up and the mead will start to clear. It is up to the meadmaker how long they want to bulk-age before bottling. A few weeks to a few months is a good place to start.
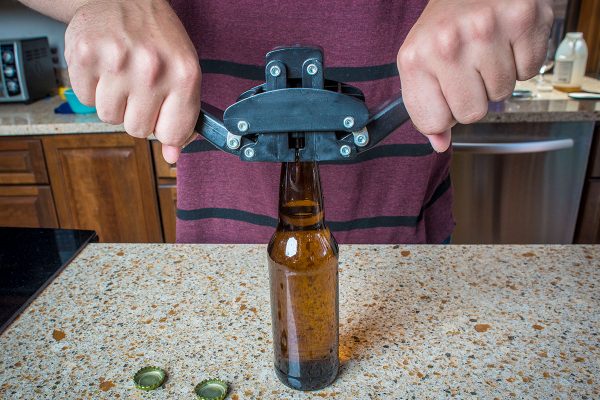
Bottle or keg
After the mead has dropped clear and fermentation is complete, it’s time to package! The only surefire way to ensure fermentation is complete is with your hydrometer. If gravity readings are consistent over the course of 1-2 weeks, it is safe to assume the yeast have called it quits.Mead can be packaged in bottles or kegs just like beer, so we will leave it up to you. This recipe is for a “still” mead so there is no bottle priming or forced carbonation necessary.
Enjoy!
All that’s left is to enjoy your homemade mead!Since this is a non-carbonated example, you theoretically don’t need to wait any period time after it’s bottled, or if kegging you only need to set kegs to serving pressure. That being said, some meadmakers will set the bottles aside for even more aging. We say do both!
When you are ready to make your second batch, check out the Mead Making Tips for suggestions on how to make your next batch even tastier!
PHOTOS © BREWERS ASSOCIATION
Share Post