By Amahl Turczyn
As a follow-up to the kombucha article that appeared in the September/October 2021 issue of Zymurgy magazine, we now turn to fermenting kombucha with a higher level of alcohol. These hard beverages are becoming popular with craft breweries and dedicated “kombucheries” alike, as they present a blank canvas on which a limitless number of flavors and colors can be painted.
The basic kombucha process is the same: brew up a batch of tea, sweeten it, introduce it to your symbiotic culture of bacteria and yeast (SCOBY), and the microbes will do the rest. This multi-strain culture includes several forms of acid-producing bacteria, mainly various strains of Acetobacter, and as the yeast feeds on the sugar you’ve provided, they produce CO₂ and ethanol; the acetic bacteria then change the ethanol into acids, producing a tart, sweet, fizzy end product.
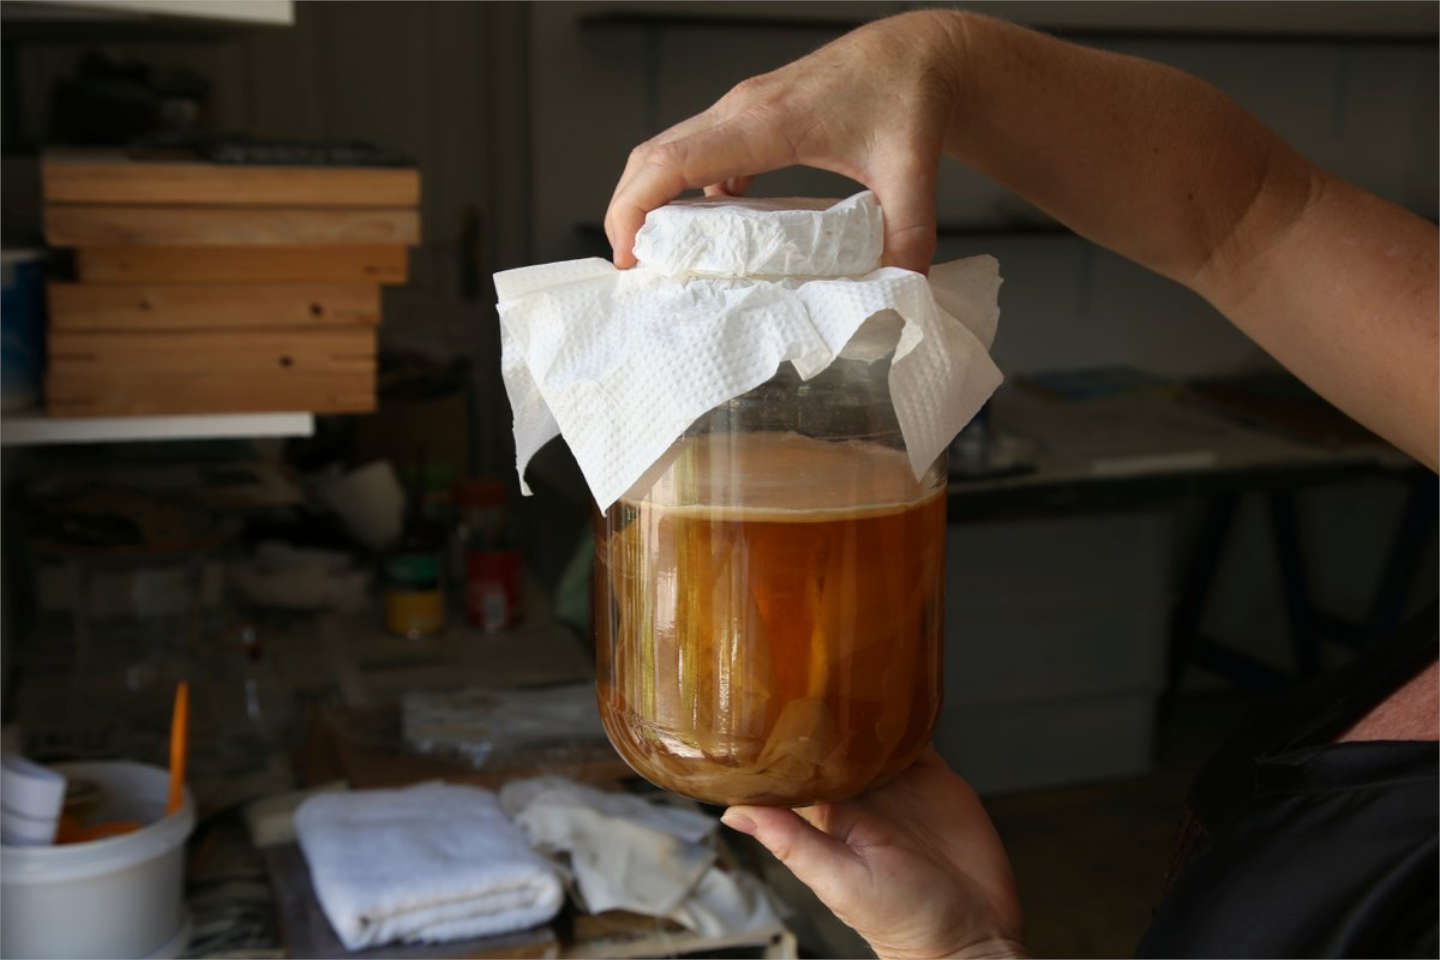
So what if you want to keep some of that ethanol around in your finished beverage? There needs to be an intermediary step that inhibits acetobacter and encourages ethanol-producing yeast. Your SCOBY thrives in an aerobic environment, which is why you cover the fermenter with cheesecloth or a coffee filter; this keeps curious insects out but allows bacteria in the SCOBY to get the oxygen they need to play their acid-producing role.
For hard kombucha, cutting off that air supply is crucial, but since we don’t want to injure our SCOBY, we simply make kombucha in the usual fashion until it reaches a palatable balance of sweetness, dryness, and acidity, and then remove the SCOBY. Your SCOBY will be perfectly happy at room temperature, in a covered container, in two cups or so of low-pH (4.3 or lower) kombucha. Once removed, we can proceed with “hardening” the otherwise finished kombucha you’ve produced.
Plenty of yeast is active in finished kombucha, but it’s best to introduce a new slurry of fresh, active yeast to bump up alcohol levels quickly. I like Lalvin ICV D47 for this purpose, as it’s slightly fruity (citrus), is alcohol tolerant, produces a full-bodied kombucha, and is relatively clean at its preferred ale temperature range of 59–68°F (15–20°C). It’s used by a lot of winemakers for Chardonnay if that gives you any idea of the expected flavor profile.
Any fresh ale yeast you have on hand will work for hard kombucha, so feel free to experiment. For a 2-gallon batch size, one 5-gram packet hydrated per the yeast manufacturer’s instructions is sufficient. Once your SCOBY has been removed, you hydrate the dry yeast in 2 ounces (50 mL) of water at 104–109°F (40–43°C), and, if it’s been stored correctly, it should start foaming within 10 minutes. Add it to your kombucha, and then prepare your sugar solution—you’ll need to feed this yeast to get it to produce the ethanol you’re after.
I prefer jun kombucha, which likes honey and oolong tea much better than table sugar and black tea. But remember, we’re feeding the D47 we just introduced, not the yeast in the jun SCOBY, so table sugar is just fine. I’ve experimented with various sugars, including honey, glucose syrup, dextrose powder (pretty much the same thing), and others, but table sugar is the least expensive option here, and I’ve seen no improvement in yeast performance using simpler or more complex sugars.
As you would to prime beer, dissolve the sugar in water, bring it to a boil, and then cool it to your yeast’s fermentation temperature range before stirring it into your kombucha. How much is a matter of preference, but as a rough guide, a pound of added sugar per gallon boosts your already sweetened kombucha to about 15°P (1.061). Depending on how sweet or boozy you like your finished hard kombucha, you can expect a final alcohol content of about 6% by volume, assuming you’ll be bottling it at a medium-sweet gravity of 4°P (1.016).
Once all the sugar is evenly stirred in, you’ll need to make sure the fermenter is sealed off from air, preferably with a tight lid and an airlock to allow CO2 to escape. Then you just need to keep the fermenter in the proper temperature range and wait for the yeast to do its job. Average wait times for attenuation vary from 7 to 14 days. The same rules for fermenting a sour beer apply here.
Depending on the strain, yeast can be somewhat reluctant to ferment and attenuate strongly and quickly in low-pH environments, so make sure you: use fresh, active yeast; pitch double the amount you’d normally pitch in a beer; be ready to wait longer for full attenuation; and never re-pitch the yeast you use for a sour ferment. Hardy strains such as the D47 mentioned above work well for hard kombucha, but I’ve also seen favorable results from kveik ale yeast types.
While it isn’t completely accurate, a handheld refractometer allows you to monitor fermentation progress without having to pull a full hydrometer sample each time you measure. (See “Revisiting the Refractometer” and “Using a Refractometer” in the Jul/Aug 2017 and Jul/Aug 2013 issues of Zymurgy, respectively, for information on adjusting finishing gravity readings using a refractometer.) You can also just dip a sample and taste it; it’s fairly obvious when the sugars start to dry out.
When you’ve reached your preferred sweet, tart, and alcoholic balance and are ready to bottle, an optional step is to add any flavorings you think might work well with your boozy tea. Fruit purees, herbs, and spices are all options; I like to combine my affinity for tepache with hard kombucha and add the (well-washed) rind and core of a ripe organic pineapple directly to the fermenter, along with whole allspice berries and a cinnamon stick. (This can be done much earlier in fermentation, when the specific gravity has fallen to about 10°P. The wine yeast will feast on the sugars from the pineapple and give the batch a really nice floral, fruity, tropical tartness.)
Another option is to add an ounce or two of mango, apricot, or peach nectar to each bottle before filling it the rest of the way with hard kombucha. This gives is a pleasing color, flavor, and often some fruit pulp that will bloom up and mix into solution when you open the carbonated bottle.
For a beautiful red color, try dried hibiscus flowers, fresh raspberries or strawberries, or tart cherry or cranberry concentrate. Coconut, passion fruit, or mango purees add a pleasing tropical dimension. Dried spearmint tends to accentuate the green tea notes, dried chilies can add a spike of heat, and melissa (or lemon balm) contributes an herbal, citrus note.
If you’re a jun kombucha fan, experimenting with different varieties of honey is great fun—one of my personal favorites is hard kombucha with orange blossom honey in both the first and second ferments, with a splash of Lebanese orange blossom water mixed in right before bottling. You can usually find this in Middle Eastern or Indian food markets. So many possibilities—commercial hard kombucha companies are a great source of inspiration for new flavor combinations to try. Really, the options are endless.
Keep in mind that if using fresh fruit or purees, you may be adding extra sugar, which can throw off the final balance (and, if you’re not careful, over-carbonate the finished beverage). You don’t have to add any sugar to prime your kombucha—it will carbonate just fine with its own residual sugar, but adding additional sugar at bottling will jumpstart the process.
Bottle the batch in pressure-tolerant screw-top PET bottles, as has been suggested previously for “soft” kombucha. Your yeast may still be quite active once it hits the recommended gravity of 4°P, so bottle conditioning can happen quickly, especially at warm temperatures; plan to give your PET bottles a squeeze every 4 to 6 hours after bottling to see how much pressure is building up. It may take 8 or 12 hours at ambient temperatures, but it’s best to stay on top of it so you don’t go overboard. It’s not uncommon to open an over-carbonated bottle of kombucha—it can be a wild and somewhat unpredictable beverage—so if those PET bottles feel rock hard when you take them out of the fridge, plan on opening them over the sink, just to be safe.
Take your kombucha brewing to the next level and discover a tasty, infinitely variable flavored sparkling beverage that’s a delicious alternative to beer. If you have a favorite brewing method or combination of flavors you’d like to share, let us know!
Hard Kombucha Recipe
The following recipe makes for a great base for your hard kombucha. Build upon this with other ingredients!
Ingredients (8 liters / 2.1 gallons)
- FERMENTABLES
- 400 g sucrose (table sugar)
- 40 g tea leaves (bagged or loose)
- 2 lb. (900 g) table sugar (second ferment)
- YEAST
- 1 fully hydrated, active kombucha SCOBY (first ferment)
- 1 packet Lalvin D47 dry yeast, hydrated per label instructions (second ferment)
- ADDITIONAL ITEMS
- 8 L filtered, chlorine-free water
- citric or lactic acid as needed to adjust pre-ferment pH
- other flavorings to add at bottling (fruit purees, spices, herbs, etc.), optional
Equipment
- pH meter or test strips in the 2.8 to 4.4 range
- 2.5-gallon bucket to use as a fermenter, with lid and airlock for second ferment
- coffee filter or tight-weave cloth and rubber band to cover fermenter for first ferment
- pressure-ready PET bottles
Instructions
Boil water and add tea leaves. Steep 1–5 minutes, depending upon tea variety. Remove tea leaves and stir in sugar until it dissolves. Cover tightly with a lid or plastic wrap and allow to come to room temperature (70–80°F or 21–27°C). Add sweetened tea to sanitized fermenter, then add SCOBY and 2 cups of starter kombucha (or ¼–½ cup distilled vinegar). Stir well, then remove a small sample and test pH. If below 4.5, cover fermenter with screen material and secure with rubber band. Keep fermenter in the correct temperature range for 7 days. Take a small sample, smell, and taste. If you are happy with the flavor and acid balance, use a sanitized funnel to fill your bottles. Don’t worry about splashing—Acetobacter likes air. Leave about an inch of head space in each bottle. If your tea is still too sweet, ferment a few days more and taste again.
When the first ferment suits your tastes, it’s ready to move to the second, anaerobic (alcohol-producing) stage. Remove your SCOBY and keep it in a separate, covered container with 2 cups of the kombucha you just produced. It will continue to produce CO2, so make sure to burp the lid every couple of days if tightly sealed.
Add 2 lb. (900 g) table sugar to just enough boiling water to completely dissolve all the sugar crystals—about ½ quart (473 mL). Cool to fermentation temperature and add to your fermenter. Cover with lid and airlock for second fermentation. Hydrate your secondary yeast strain using the instructions on the packet, if using dry yeast. When active and foamy, stir into your sweetened kombucha. You should see signs of vigorous fermentation within a couple of hours.
Ferment from 7 to 12 days at around 20°C (68°F). After about a week, or when airlock activity begins to slow, take a small sample. As it attenuates past 5°P (1.020 SG), it should begin to taste less sweet and more balanced with the acids. If you have a pH meter, you can expect your finished kombucha to measure out between 2.5 and 3.5.
If targeting the recommended 4°P (1.016 SG) finishing gravity, 5°P is when you want to add your flavorings. Herbs and spices can be steeped for a day or two and then removed. Fruit nectars or purees can be added now, though your yeast may need an extra day or so to finish at 4°P, depending upon how much sugar your fruit adds.
To carbonate, there’s no need to add additional priming sugar—your tea should still have plenty of sucrose. Just keep the bottles at the same temperature for three to seven days, squeezing them gently every day or two to gauge the level of condition. When fully carbonated, transfer to the fridge and enjoy cold. As stated above, it is easy to over-carbonate any kombucha, so drink it fresh! Remember it will still ferment slowly even under refrigeration, so if you forget a six-pack is in there, you may have difficulty getting it into a glass. Fortunately PET bottles can hold a whole lot of pressure, so the risk of bottle bombs is pretty low.
Amahl Turczyn is associate editor of Zymurgy.
Share Post