By Efrain Villa
Get Zen, Get Brewing: Black Project Brewing Co. (Denver, Colorado) share their wisdom on brewing Lambic-inspired beers at home, including a homebrew recipe and 10 tips.
“If names are not correct, language will not be in accordance with the truth of things.” — Confucius
In homebrewing, as in all important undertakings, a lot of energy goes into waxing philosophical on nomenclature, and for good reason. As Confucius pointed out, naming things is an important way in which we get closer to a shared truth, and truth-seeking should always have a place in art, including the art of brewing.
However, philosophical conversation on what does and does not fall within the parameters of a specific beer style can squander away craft beer enthusiasm instead of letting it be harnessed into beermaking. If the conversation is a distraction from a greater calling, we would be better served by tapping into the wisdom of another famous muser:
“A rose by any other name would smell as sweet.” – William Shakespeare
For the purposes of best digesting the following expert advice imparted to us by James Howat of Denver’s Black Project Brewing, let us set aside our purist tendencies, lofty as they may be. Instead, we will embrace a style of beer that embodies the spirit of resourcefulness, scrappiness, and whimsical serendipity: spontaneously fermented, Lambic-style ale.
Creating a beautiful Lambic-inspired beer through spontaneous fermentation is not about geeking out on expensive gear or fussing with difficult-to-master techniques. It is an endeavor that is much more about the journey than the destination.
That is not to say that we can stray into calling any result by any name we choose—that would be anarchy. However, since so much about how this beer tastes depends on the environment in which it is brewed, we are going to put ourselves in a mindset of appreciating our sense of place and all that our unique surroundings can bring to this one-of-a-kind beer.
So buddy up with Mother Nature and enjoy being her co-brewer, because as you may have already heard, “brewers make wort and yeast makes beer.” But Nature makes the yeast and other microflora that triggers spontaneous fermentation.
What is spontaneous fermentation?
Spontaneous fermentation is the process by which environmental bacteria and yeast break down a substance into a simpler substance. For the homebrewer, it means that instead of inoculating wort by pitching yeast, inoculation takes place through whatever yeast and bacteria are naturally in the air.
This laissez-faire approach to introducing microflora to their food is why the word “wild” frequently enters the spontaneous fermentation conversation. That the micro-critters’ meal begins as the wort cools is why we come across the term “coolship beers.”
Regardless of what we call it, in this beer style the focus is on process rather than result, sort of like the difference between coming across an apple on a tree versus having a restaurant chop one up and serve it to us. Both processes lead to an apple in our belly, and maybe one tastes better than the other, but ultimately the major difference was in how we encountered the apple. A better analogy might be the use of a package of yeast in breadmaking versus culturing a wild yeast starter to make a sourdough loaf.
What is a Lambic-inspired beer?
Many of us are familiar with place of origin dictating whether a product is or is not worthy of its title. Traditionalists will tell us that tequila can only be called tequila if it comes from Jalisco, Mexico; champagne is only champagne when it originates in Champagne, France; and Lambic beer belongs to Belgium.
Let us not get too lost in these definitions or veer into the polemics of cultural appropriation. All we are interested in doing here is emulating the traditional processes of a specific era in Belgium and letting go of our preconceived notions of the “perfect” end result.
Having said that, there are flavor profile characteristics that this process is likely to yield. Although lambics can be dry or sweet, sourness is usually an essential element of the flavor profile. Since we do not all live in the Zenne Valley, how our beers taste will largely vary from one geography to another, or even from your kitchen to your basement cellar.
This diversity is why blending is also an integral part of creating a Lambic-inspired beer. It is a way for us to dilute the risks involved in a process that can span as much as three years. The advice to not keep all one’s eggs in one basket is ideal here, and even more prudent given that these eggs take so long to hatch.
Avoiding Pitfalls
Howat has been producing Lambic-inspired beers in small and commercial batches for years. He has seen and heard it all when it comes to brewers erring in their Lambic-inspired beermaking. As with most people who have spent years honing their craft, he is able to easily connect one disparate fact with another. For example, how flies not having lungs relates to small fermenting vessels being best for exposing wort to environmental microbiota (that fascinating tidbit has to do with the surface area of objects increasing at smaller increments than their volume when they are enlarged… but let’s not digress).
10 Tips on Lambic-style Homebrewing
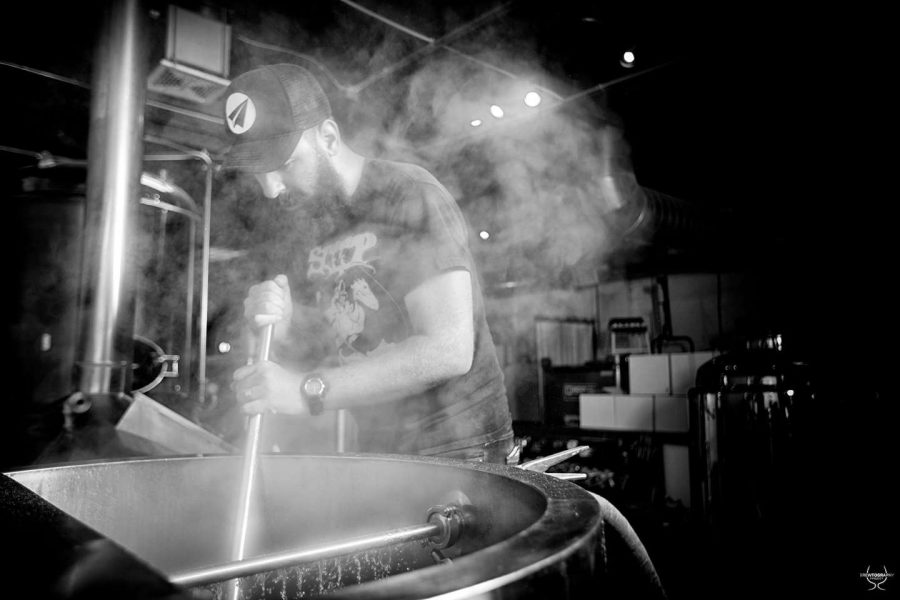
1. Focus on Process, Not Gear
“I think people get so hung up on how Cantillon does it, or how the other traditional Belgian breweries do it, but everyone has a different system, and those breweries are mostly just making do with what they have,” says Howat. “Homebrewers should also adapt to suit what they have on hand. The point is to make a starchy wort and it’s pretty easy to do that—you just have to pull out some of it before it goes into saccharification in your mash. You can get all crazy by emulating Belgian brewers’ percentages and equipment, but it’s all about process, not gear. Your setup just has to act like their setup, not look like it.”
2. Be Basic
The traditional method uses about 50 percent pilsner malt and 50 percent unmalted wheat, but Howat says it is okay to tinker a bit with the base stock ratio or just ballpark it all together.
When you start the boil of a Lambic style beer, there should be starch in it, and you can do that by using what is called a turbid mash. Although there are several pieces of folklore and complicated legends on how to achieve the best turbid mash, Howat says that once again, it is best to keep it simple: Remove about 25 percent of your wort before you raise the heat for saccharification, place what is removed in a kettle to boil and later when you start sparging, sparge directly into the kettle with the turbid wort. The mixture will give you the starchy wort needed for a Lambic-inspired beer.
3. Beware: The Hops
“Aged hops are really important,” says Howat. “There are lots of misconceptions about using hops in this process, like the idea that aged hops do not add IBUs, but we know for a fact that Belgian Lambic has about 25-30 IBUs in the bottle, which means it probably had about 35 (IBUs) out of the kettle.”
Howat emphasizes the need for aged hops because they add IBUs based on oxidized alpha acids. The variety of hops does not matter as much as ensuring the hops are oxidized. This is especially true when using pellets instead of whole leaf hops.
4. Know the Rules Before You Break Them
We are embracing spontaneity here, but it is good to know what the process is doing before tinkering too much, especially given how long it takes to go from a pile of ingredients to a drinkable beer.
“Aged hops after a long boil add a certain cheesy funkiness to the beer that I don’t think you can get any other way, and although it’s fine to experiment, start with the basics first so you can better troubleshoot if something goes wrong,” says Howat.
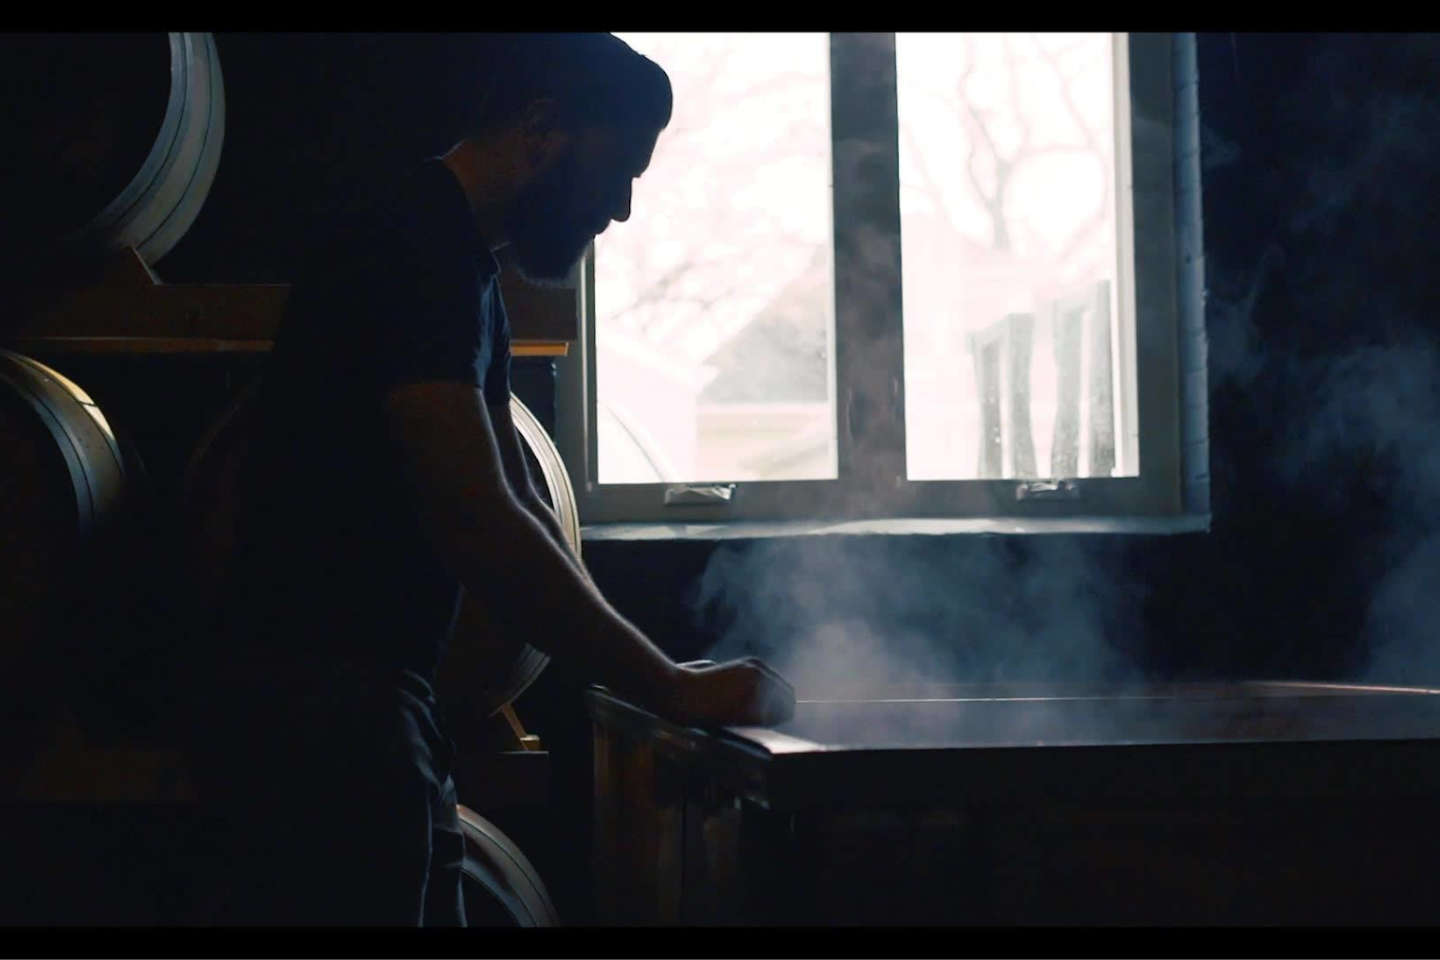
5. Be Cool, But Not Too Cool
“I’ve seen homebrewers spend a ton of money on custom coolships and I always tell them, ‘Don’t do that,’” says Howat.
The key part about spontaneous fermentation is the cooling rate of the wort. There are so few microbes being inoculated in from the air that it is important that the wort stays warm for a long time; about 12 to 14 hours. Some of the bacteria double in 8 hours at 90 degrees Fahrenheit, so cooling the wort in a shallow coolship will be way too fast for the initial microbes to flourish.
“Typically, homebrewers cool outdoors, because of convenience, and of course everybody wants outdoor yeast, not indoor yeast from their house,” says Howat. “It’s fine, but it’s important to find a way to keep it warm overnight and let it take the whole night to cool. My thing is, don’t make a coolship, leave it in your kettle, especially if you can bag your hops so you don’t leave them there overnight. It’s always better for it to take longer to cool than for it to cool too fast.”
6. Relish In Decent Exposure
It might not seem like a kettle has enough surface exposure to the environment and its microbiota, but Howat reminds us that homebrewers have an advantage here because the laws of physics favor smaller vessels in this inoculation process.
“When you increase the size of a vessel, volume increases at a larger rate than surface area,” says Howat. “It’s why single-celled organisms are small and don’t need lungs, because they have tons of surface area to absorb oxygen through their bodies. We can’t do it because we are so much bigger and that ratio means we have less surface area in relation to what’s on our insides.”
It is a bit complicated to understand this concept without going back to middle school geometry or biology, so let us use a burrito to illustrate. If you have a tiny burrito, the amount of tortilla (surface area) might be pretty close to the amount of filling (volume). It might even be one-to-one. If you have a giant burrito, the filling would now be so much greater than the oversized tortilla that enshrouds it.
In a small batch of beer, the kettle allows for more than enough surface exposure relative to the volume of wort. Just remember to put a mesh screen over the top of the kettle so leaves and flies don’t get into it. Flies may not have lungs, but they will drown in your beer and contaminate it with who knows what.
7. Patience
Once you move your inoculated wort to a fermenting vessel, be patient. Do not taste your beer for several months, and when you do, don’t worry if it tastes awful. Some of those flavors may evolve into deliciousness, but not all of them, so become familiar with those flavors and aromas.
“The flavors that don’t get better have to do with oxygen,” says Howat. “If it tastes like acetone or vinegar, it’s not going to get better. If you get an oxygen compound, it’s time to blend it and get it in a bottle away from oxygen.”
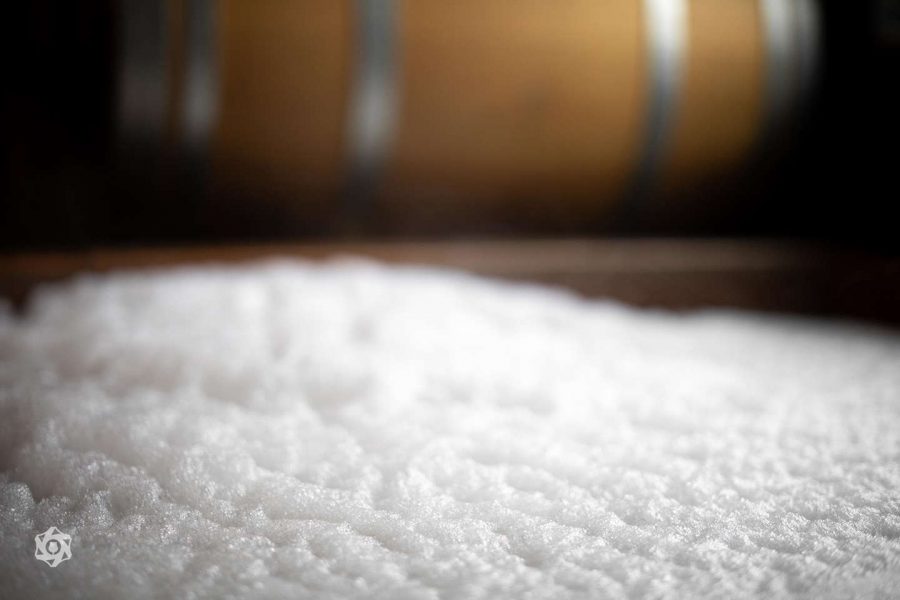
You do not have to taste your concoctions to know magic is happening. After about two weeks, there should be some signs of fermentation, such as bubbles and foam, known as krausen.
8. Oxygen is the enemy
I would advise against trying to ferment in five-gallon barrels because the oxygen ingress through a five-gallon barrel is huge,” says Howat. “I think your chances of making vinegar are high in small barrels so instead put it in a glass carboy and if you want a slight oak character, boil some American or French oak cubes and put them in there. We’re trying to limit oxygen exposure. You want to limit that surface area at the top of the vessel and use a vessel that is impermeable to oxygen because this beer is going to age for 8 months to 3 years potentially before you use it. It’s also why you should fill your carboy to the top.”
9. Dump What Does Not Serve You
If you have ever wanted to indulge your inner 1990s rapper and frequently spill a little beer “for the homies,” this is definitely the right style of beer for you to be brewing. Howat says you can expect to dump about 20 percent of your beer due to off-flavors, which is why it is important to ferment in several vessels. The various vessels will allow you to blend to arrive at a flavor profile you and your friends will enjoy. Also, remember that “off-flavors” in very small quantities can add complexity.
10. Appreciate the Uniqueness of Your Creation
Your Lambic-inspired beer will have a unique flavor profile and for that reason alone, you should learn to love it even if it does not exactly match your expectations.
Traditionally, this style is carbonated, but it can be hard to get old beer to carbonate because the yeast in three-year-old beer is dormant. If adding sugar or a bit from a batch of younger beer to initiate bottle fermentation does not work, remember that plenty of amazing beer is not carbonated, and according to the Dalai Lama, “Not getting what you want is a wonderful stroke of luck.”
There you go, best of luck in your brewing experimentation.
Lambic-inspired Homebrew Recipe
The following Lambic-style recipe is provided by Black Project Brewing Co.
Ingredients:
- 60% Pilsner Malt
- 40% Unmalted White Wheat
- Hops: Approx. 2-3 oz per 5 gallons of 2+ year aged (exposed to oxygen and room temperature) whole leaf hops, preferably of a more classic/noble variety if possible.
Specs:
- Target OG: 1.050
- IBUs: 23-35**IBUs would best be determined experimentally by testing a batch of wort. Alpha Acid percentages listed by suppliers for aged hops (either aged or when they were fresh) cannot be used with common calculations for determining IBUs – start with 2-3oz per 5 gallons and adjust from there.
Turbid Mash for Homebrewers:
Mash in all grain with a quite thin grist. Aim to fill your mash tun even though the gravity of this beer is low. First step temperature should be below saccharification temperature, I like to use a protein rest of 122 F.After a 20-minute protein rest, lauter turbid wort from your mash a volume of around 25% of your boil volume. Transfer this 25% of your boil volume to your kettle and begin a gentle boil of this liquid. This is your turbid mash pull and is full of starch. By bringing it to a boil you are making sure there will not be saccharification of this portion of the wort. Add water to raise your remaining mash to 156 F. Hold for 45 minutes. Sparge as normal into your kettle, making sure a boil is constantly maintained as the new wort is added.Once you have reached boil volume, start a timer for 3 hours and add your hops. At the conclusion of the boil you want the wort to cool to room temperature while exposed to the air over a period of ideally 12-14 hours. This is difficult as a homebrewer due to the small volume of the kettle. I advise avoiding any kind of small-scale coolship and simply using your kettle covered by a nylon mesh if it is outdoors (to keep out bugs, leaves, etc but still allow microbes in). In order to achieve this long cooling rate, it may even be advisable to insulate your kettle or transfer your wort back to an insulated mash tun, just make sure to do that at a temperature hot enough to kill any microbes left in the mash tun (170 F should be fine). After cooling is complete, transfer the wort to a clean glass carboy. Leave as little headspace as possible – spontaneous fermentation is usually not nearly as vigorous as ale fermentation. Store the carboy in a cool dark place and watch for signs of active fermentation, especially krausen forming at the top of the wort. I don’t advise using small format barrels as the oxygen ingress is quite large over the time periods required to make this type of beer. Beer should be ready for tasting and blending, assuming you have seen an active fermentation and corresponding drop in gravity in as soon as ~6mon but most batches will taste better and continue to develop over 1-3 years.
* * *
About James Howat
James Howat studied microbiology at Colorado State University in Fort Collins. After graduating in 2008, he began teaching high school science in Commerce City, Colorado and picked up homebrewing as a hobby. In late 2013, he became a founder in a brewery that would later evolve into Black Project Brewing. The name Black Project is a reference to the brewery’s humble beginnings as a secret side-project within a regular brewery.
About the Author
Efraín Villa is a photographer, actor, writer and global wanderer whose endless quest for randomness has taken him to more than 50 countries in five continents. His writing has appeared on NPR’s Weekend Edition, the Good Men Project, TravelWorld International Magazine, Zymurgy, as well as Spanish language publications. While not running his consulting firm in Albuquerque, he is busy devouring exotic foods in faraway countries and avoiding adulthood while wearing the least amount of clothes possible. His travel stories dealing with the messiness, humor, and beauty of cultural collisions can be found on AimlessVagabond.com.
All photographs courtesy of Dustin Hall (The Brewtography Project)
Share Post